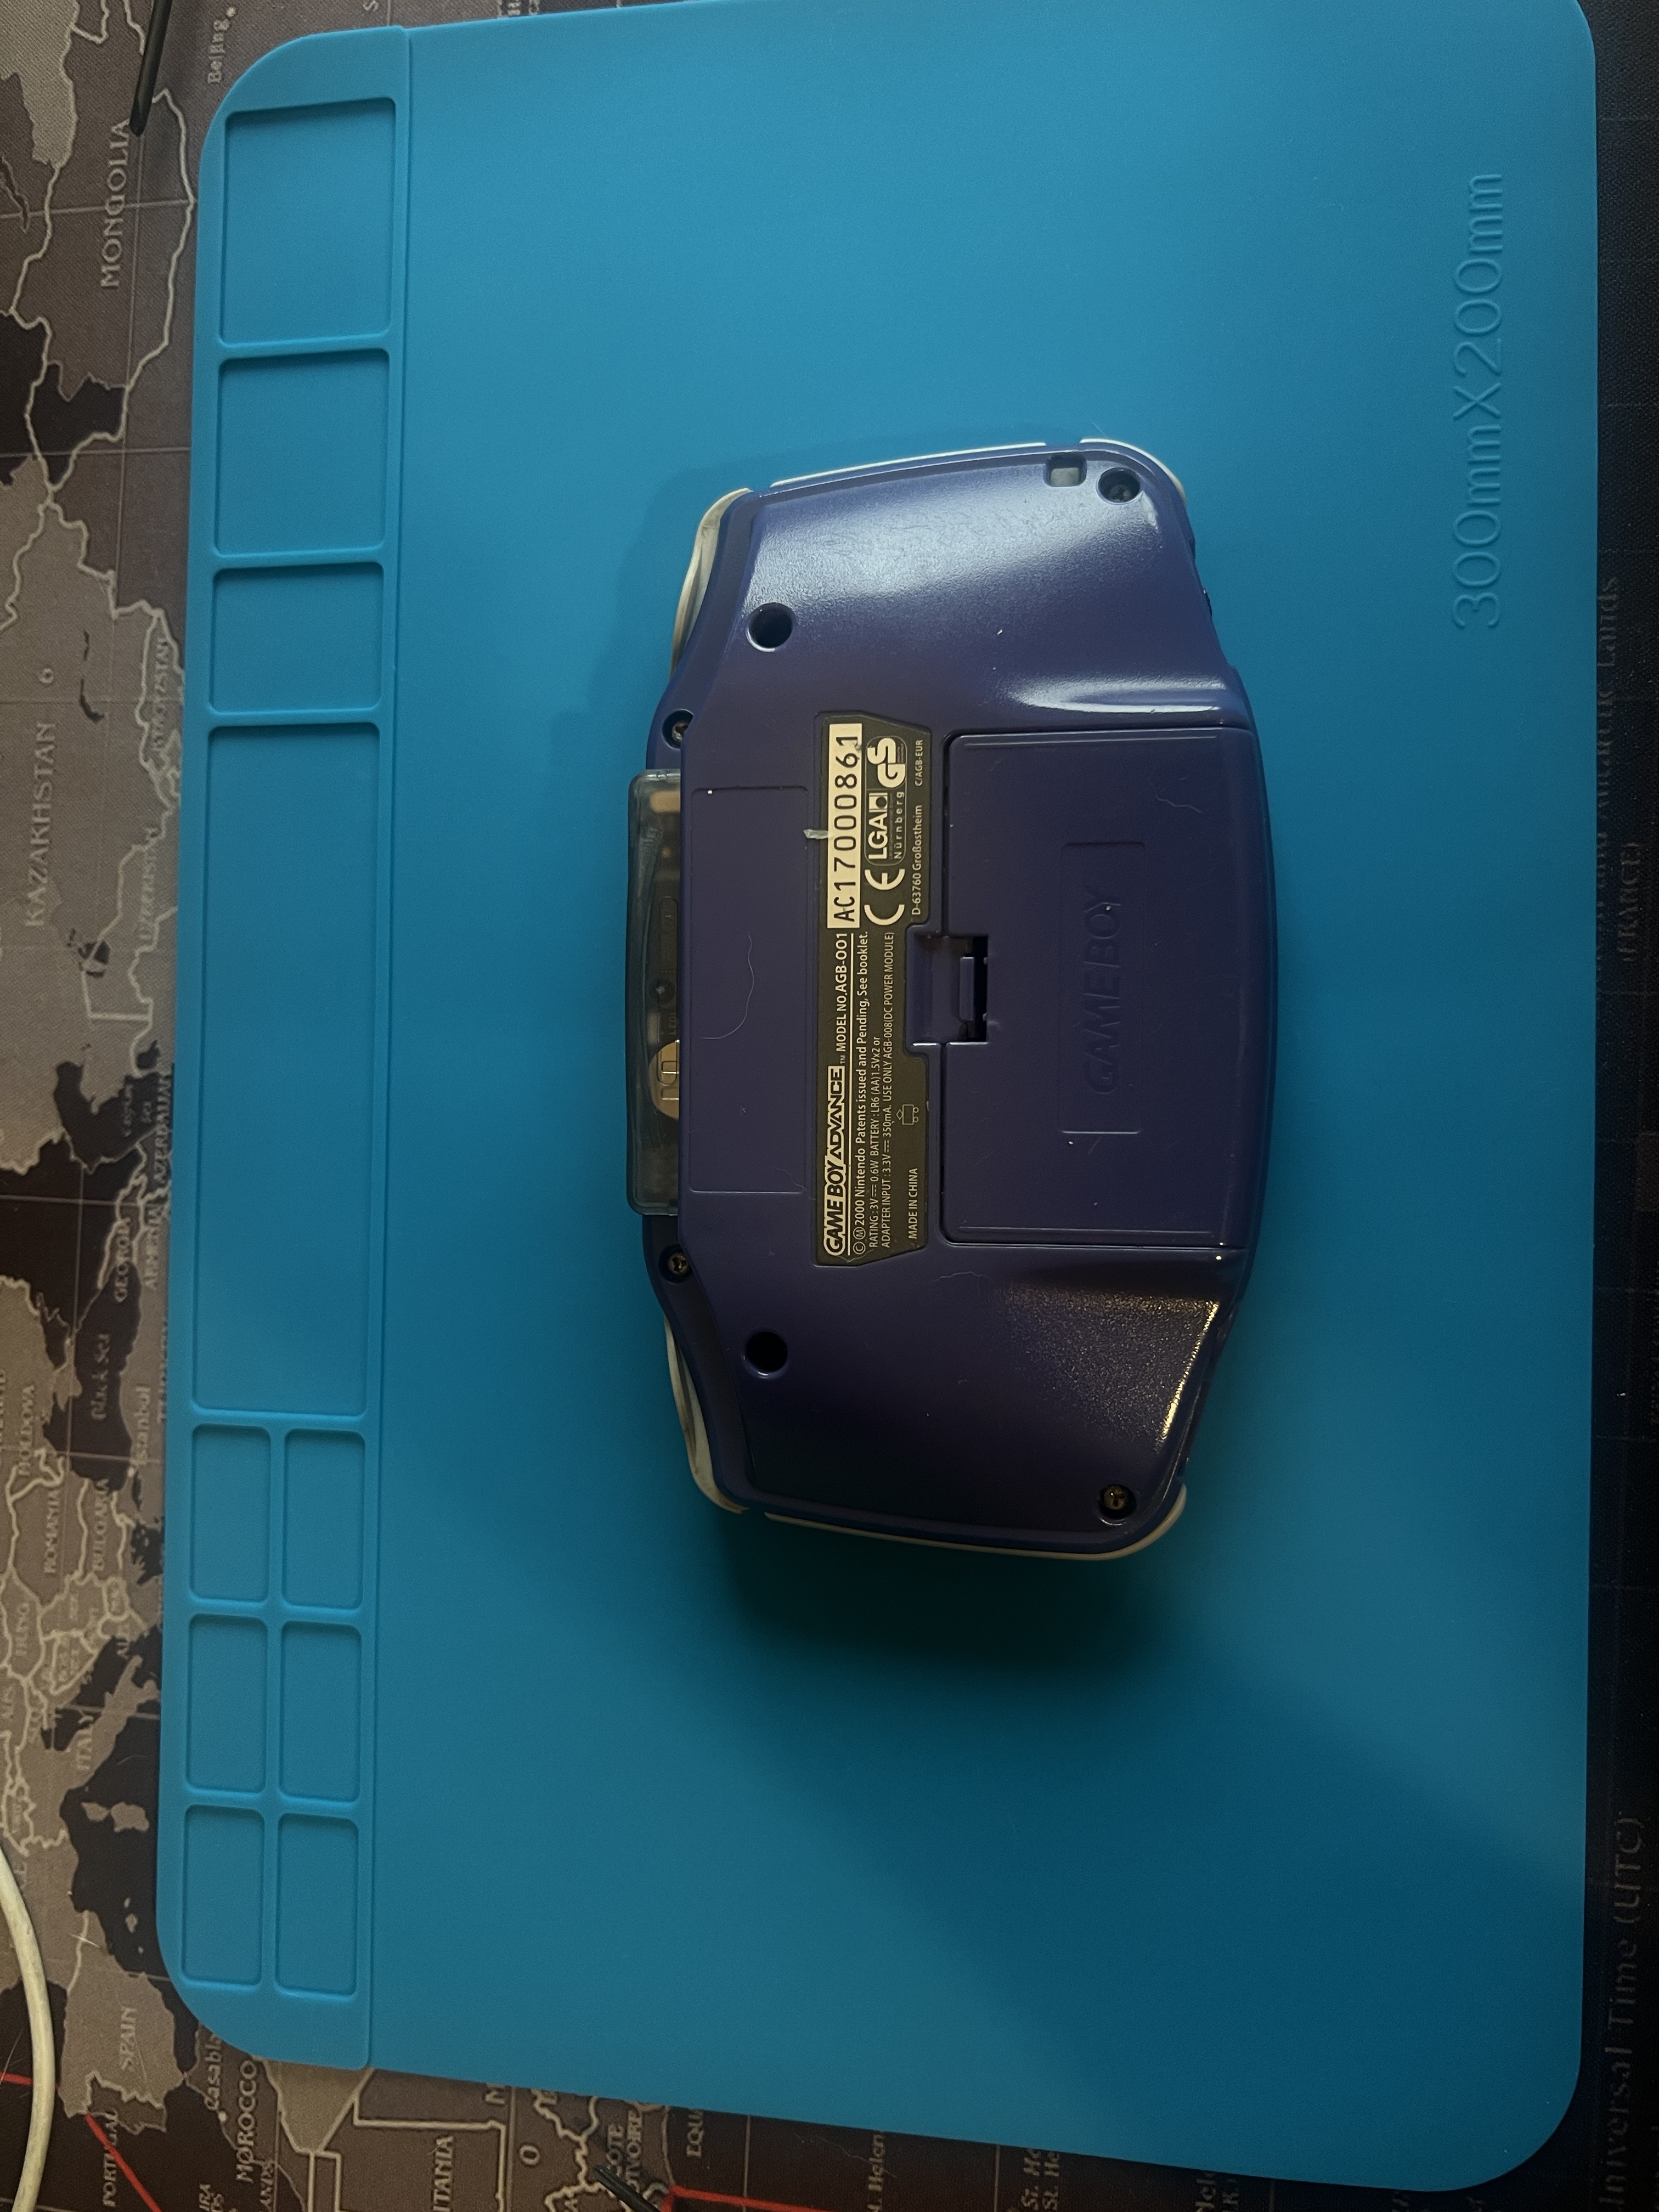
I’ve always loved my Gameboy Advance (GBA), but after years of use, it was time for an upgrade. I decided to breathe new life into my old handheld, which I bought for just 1 single euro from an old colleague in school who was about to throw it into the trash. Mixing nostalgic design with modern tech, here’s how I transformed it from an old-school relic into a portable powerhouse.
Starting with the Old: Shell and Motherboard
To kick things off, I took apart the GBA’s original shell. As much as I loved the old design, the scratched-up exterior and dim screen were begging for an upgrade.
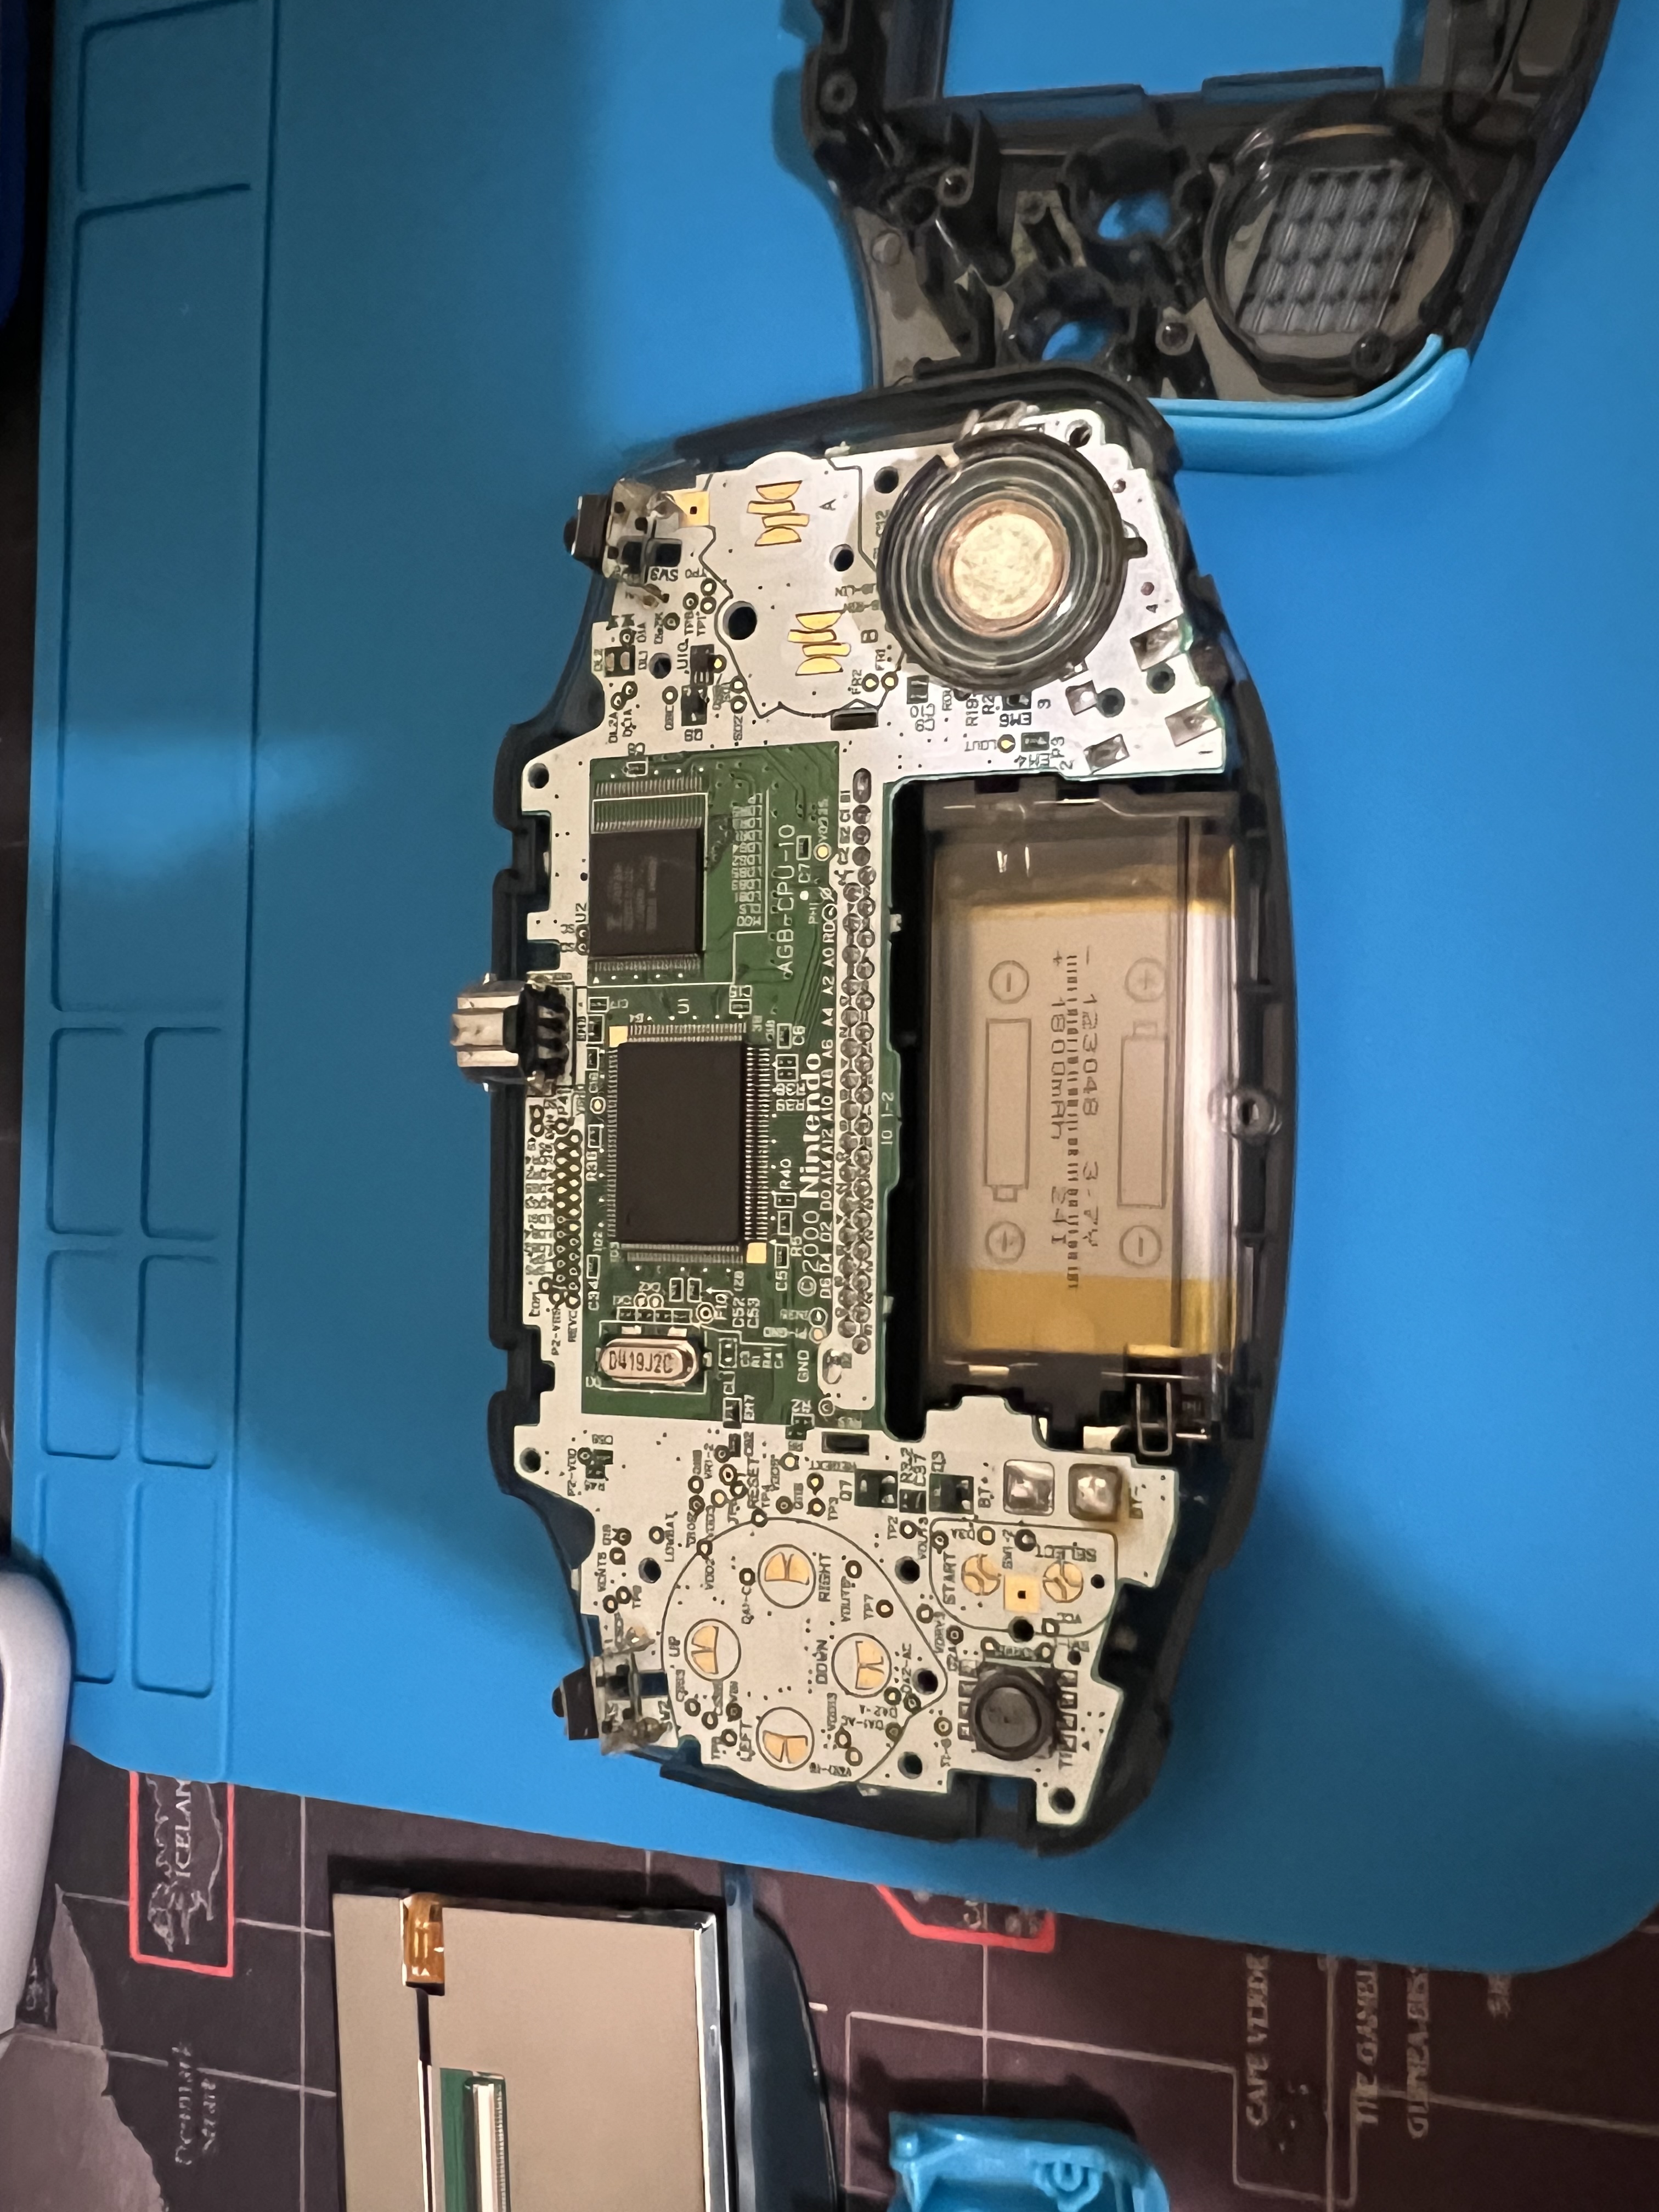
Once I had it open, I got a clear look at the motherboard. Taking apart my GBA felt like stepping into a time machine, but this was just the start.
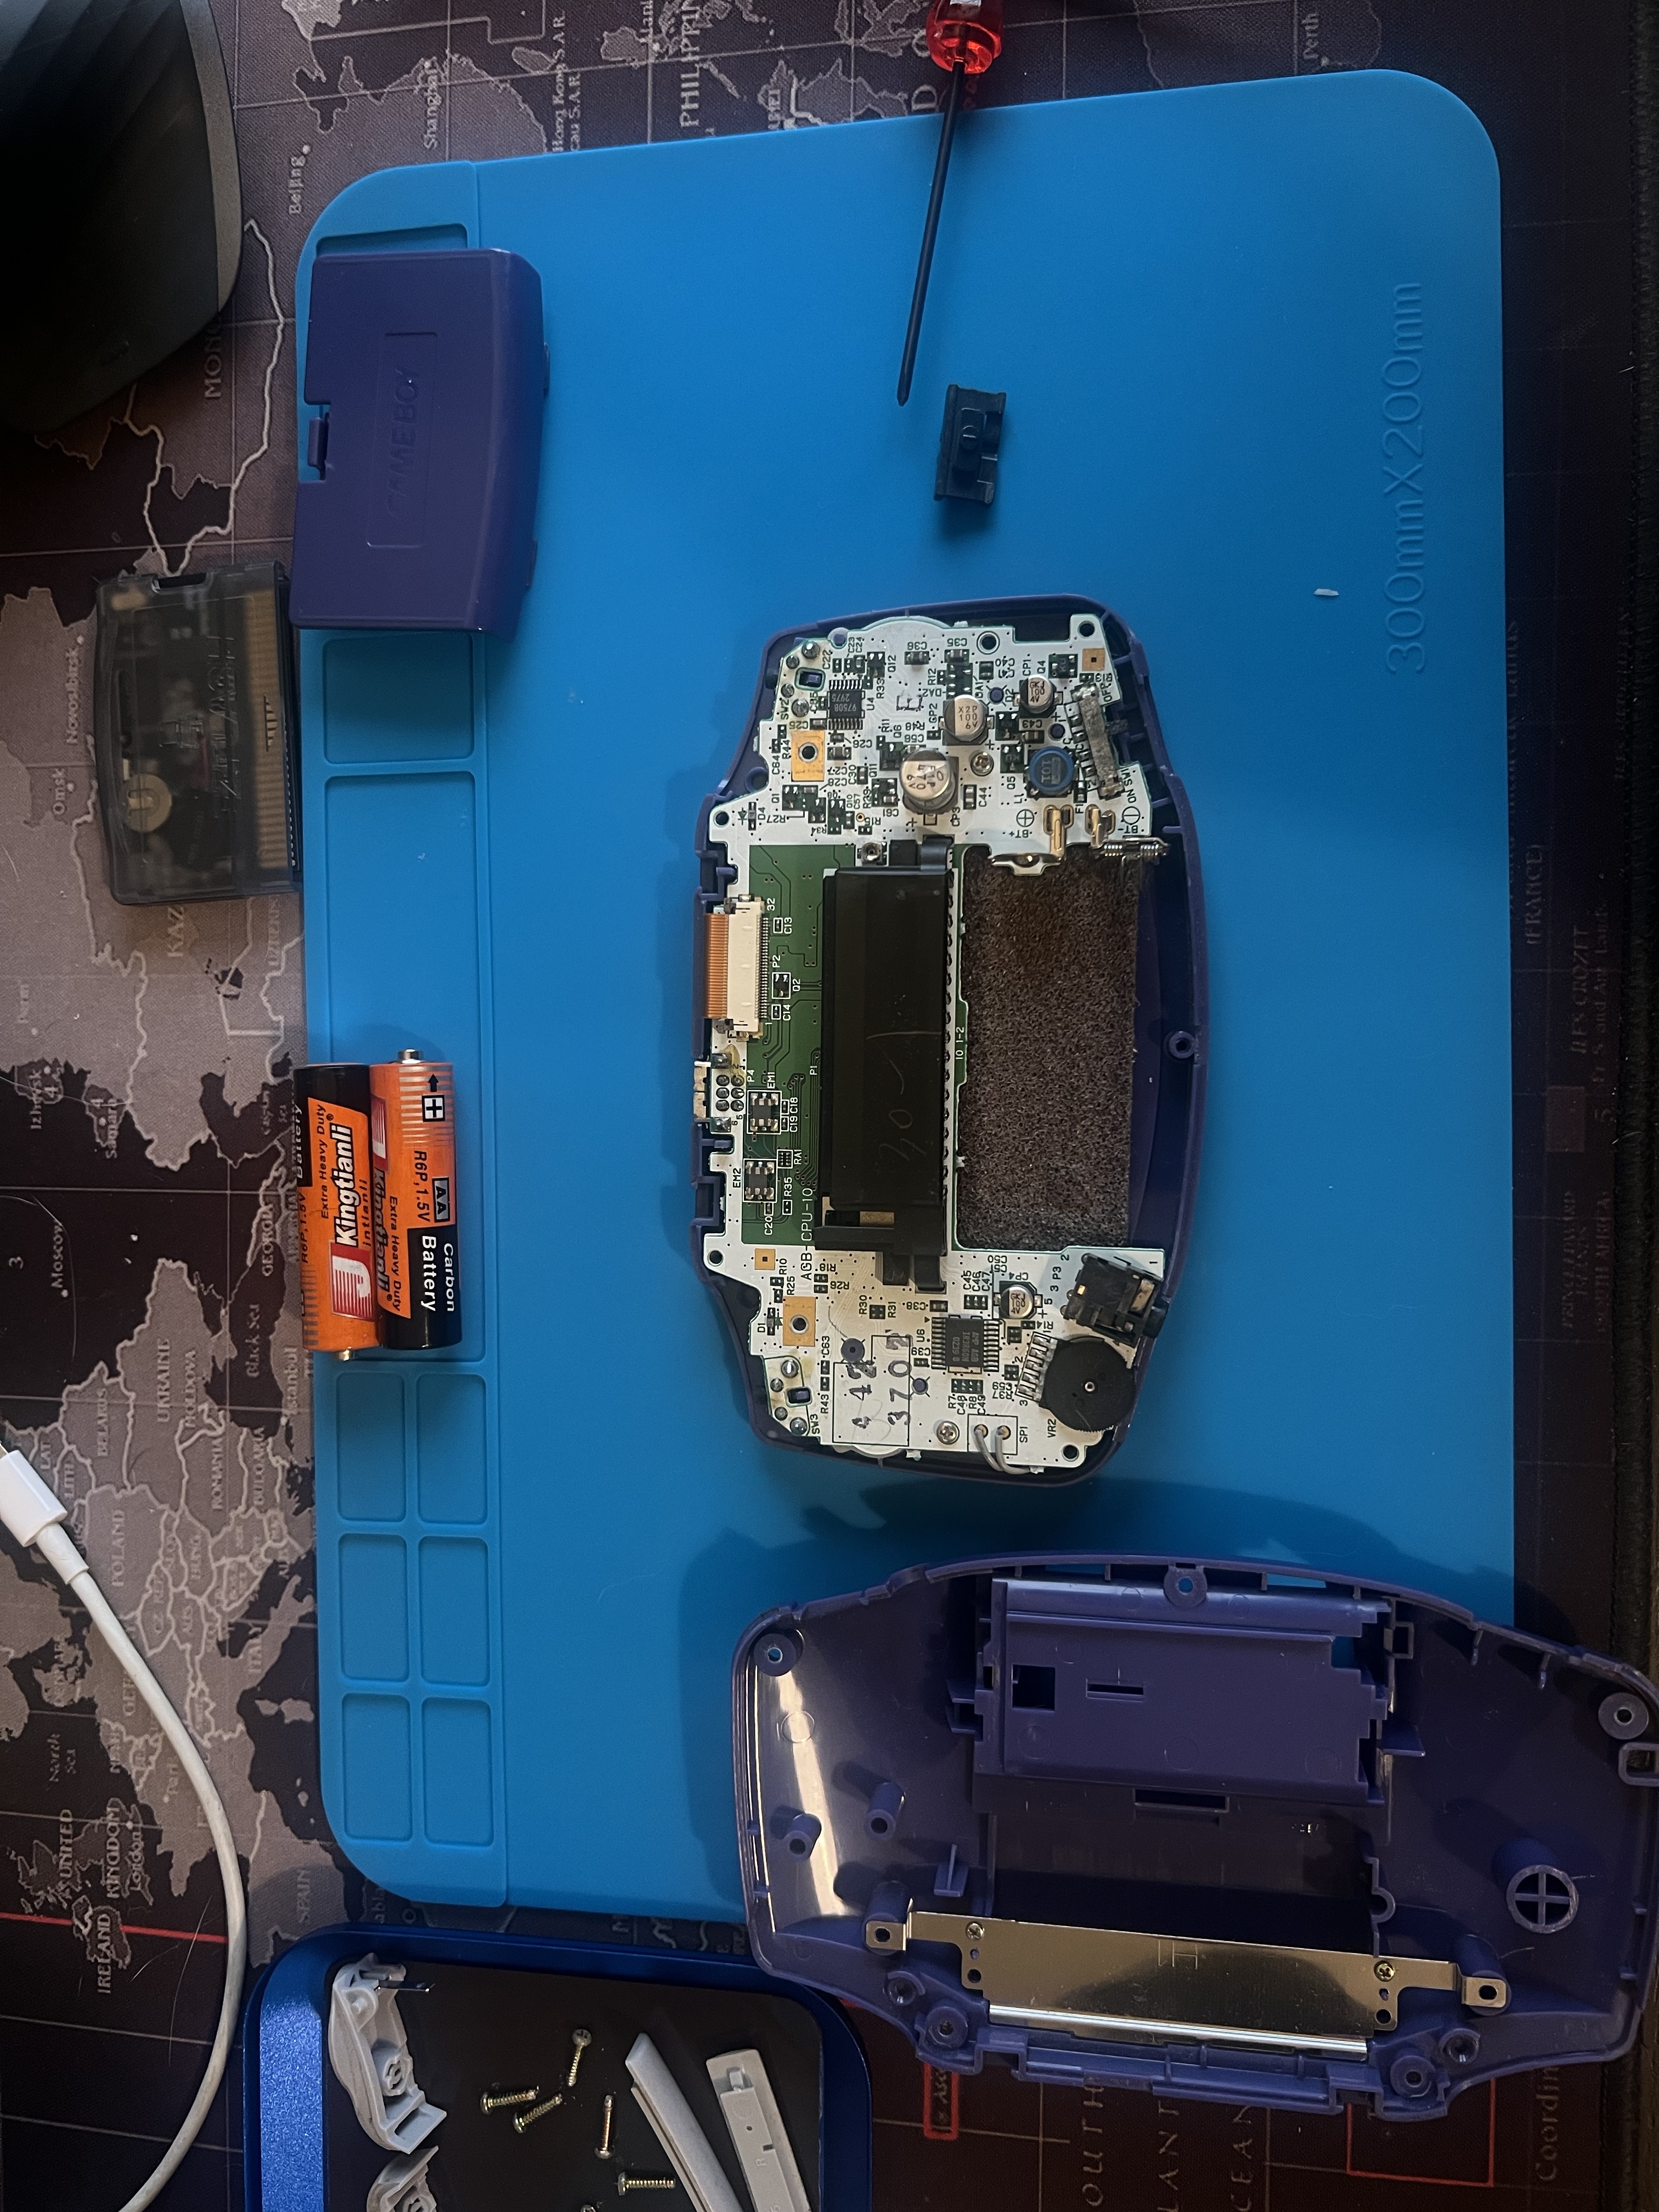
I carefully removed the motherboard. It’s amazing to see how simple yet powerful the internal components are. Here’s the motherboard fully out of the shell.
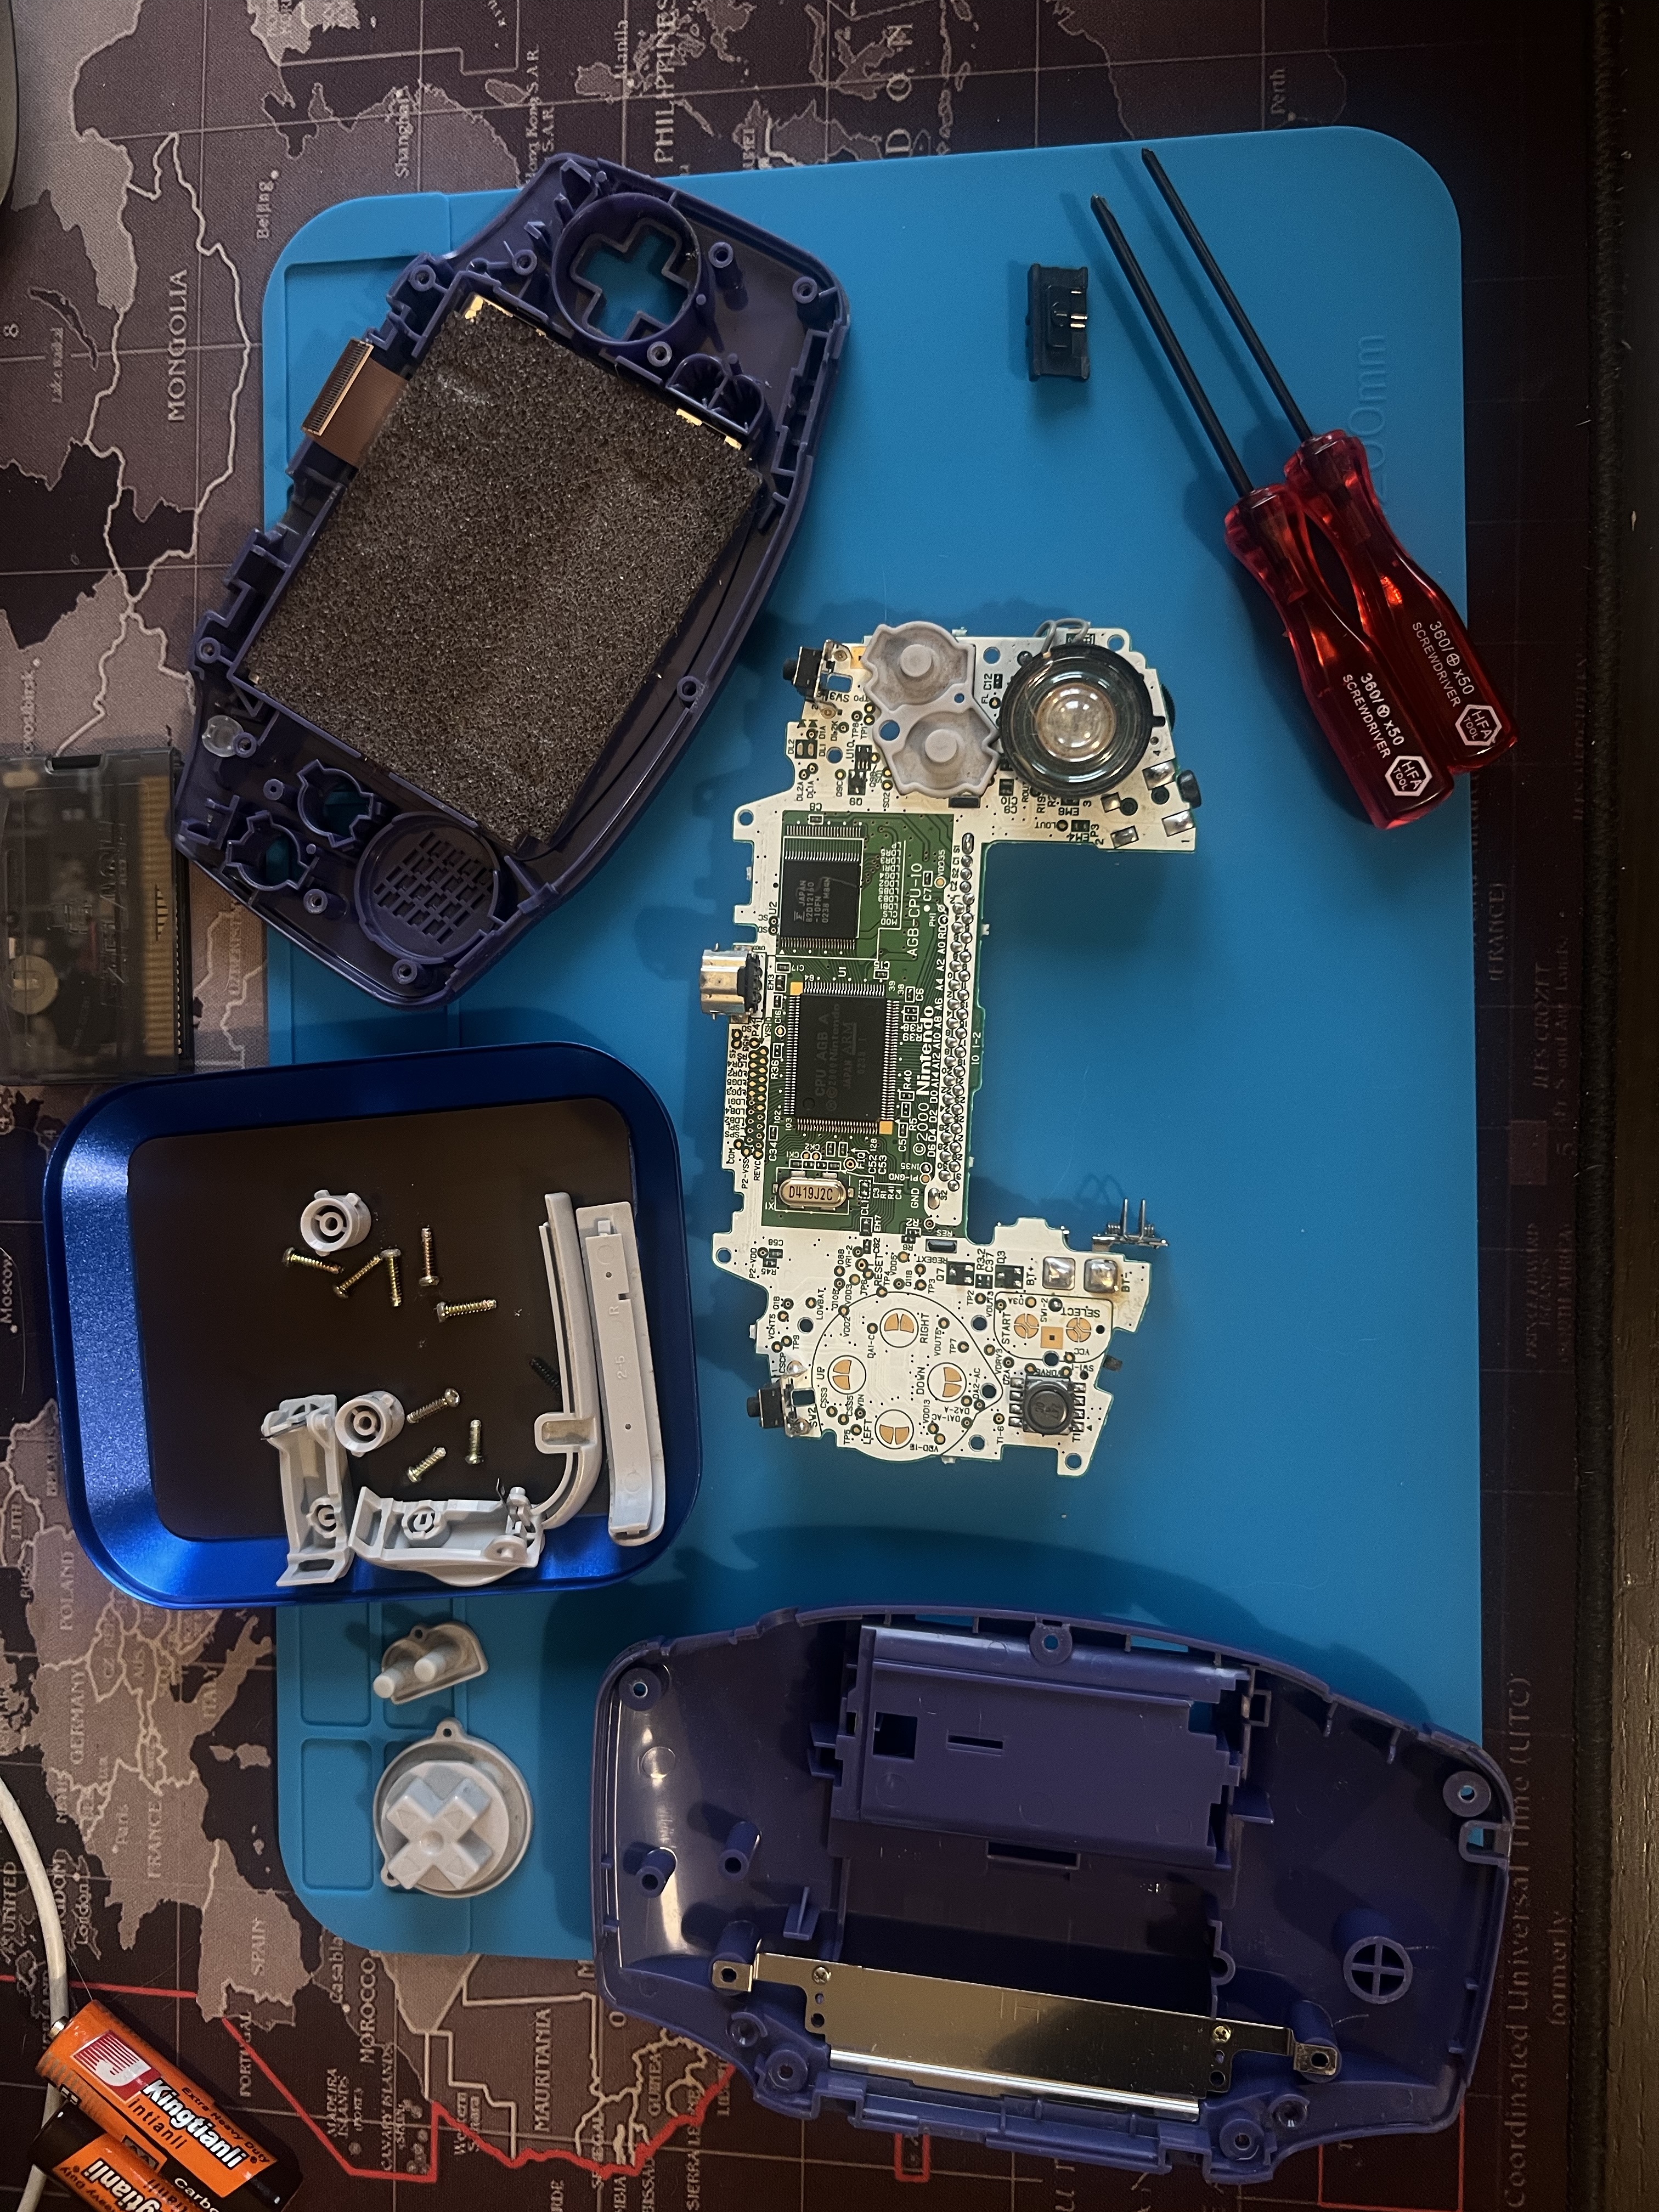
Here’s a close-up shot of the CPU for all the hardware nerds out there. It’s incredible to think how this little chip powered so many of my favorite games growing up.

A Fresh New Look: Transparent Grey Shell with Blue Buttons
Next up, I swapped the old shell for a transparent grey one with blue buttons. It’s a nice blend of retro vibes and modern style. The best part? This shell came precut for the larger IPS screen, saving me the hassle of modifying it myself.
Here’s a shot of the motherboard next to the new shell, ready to be reunited.
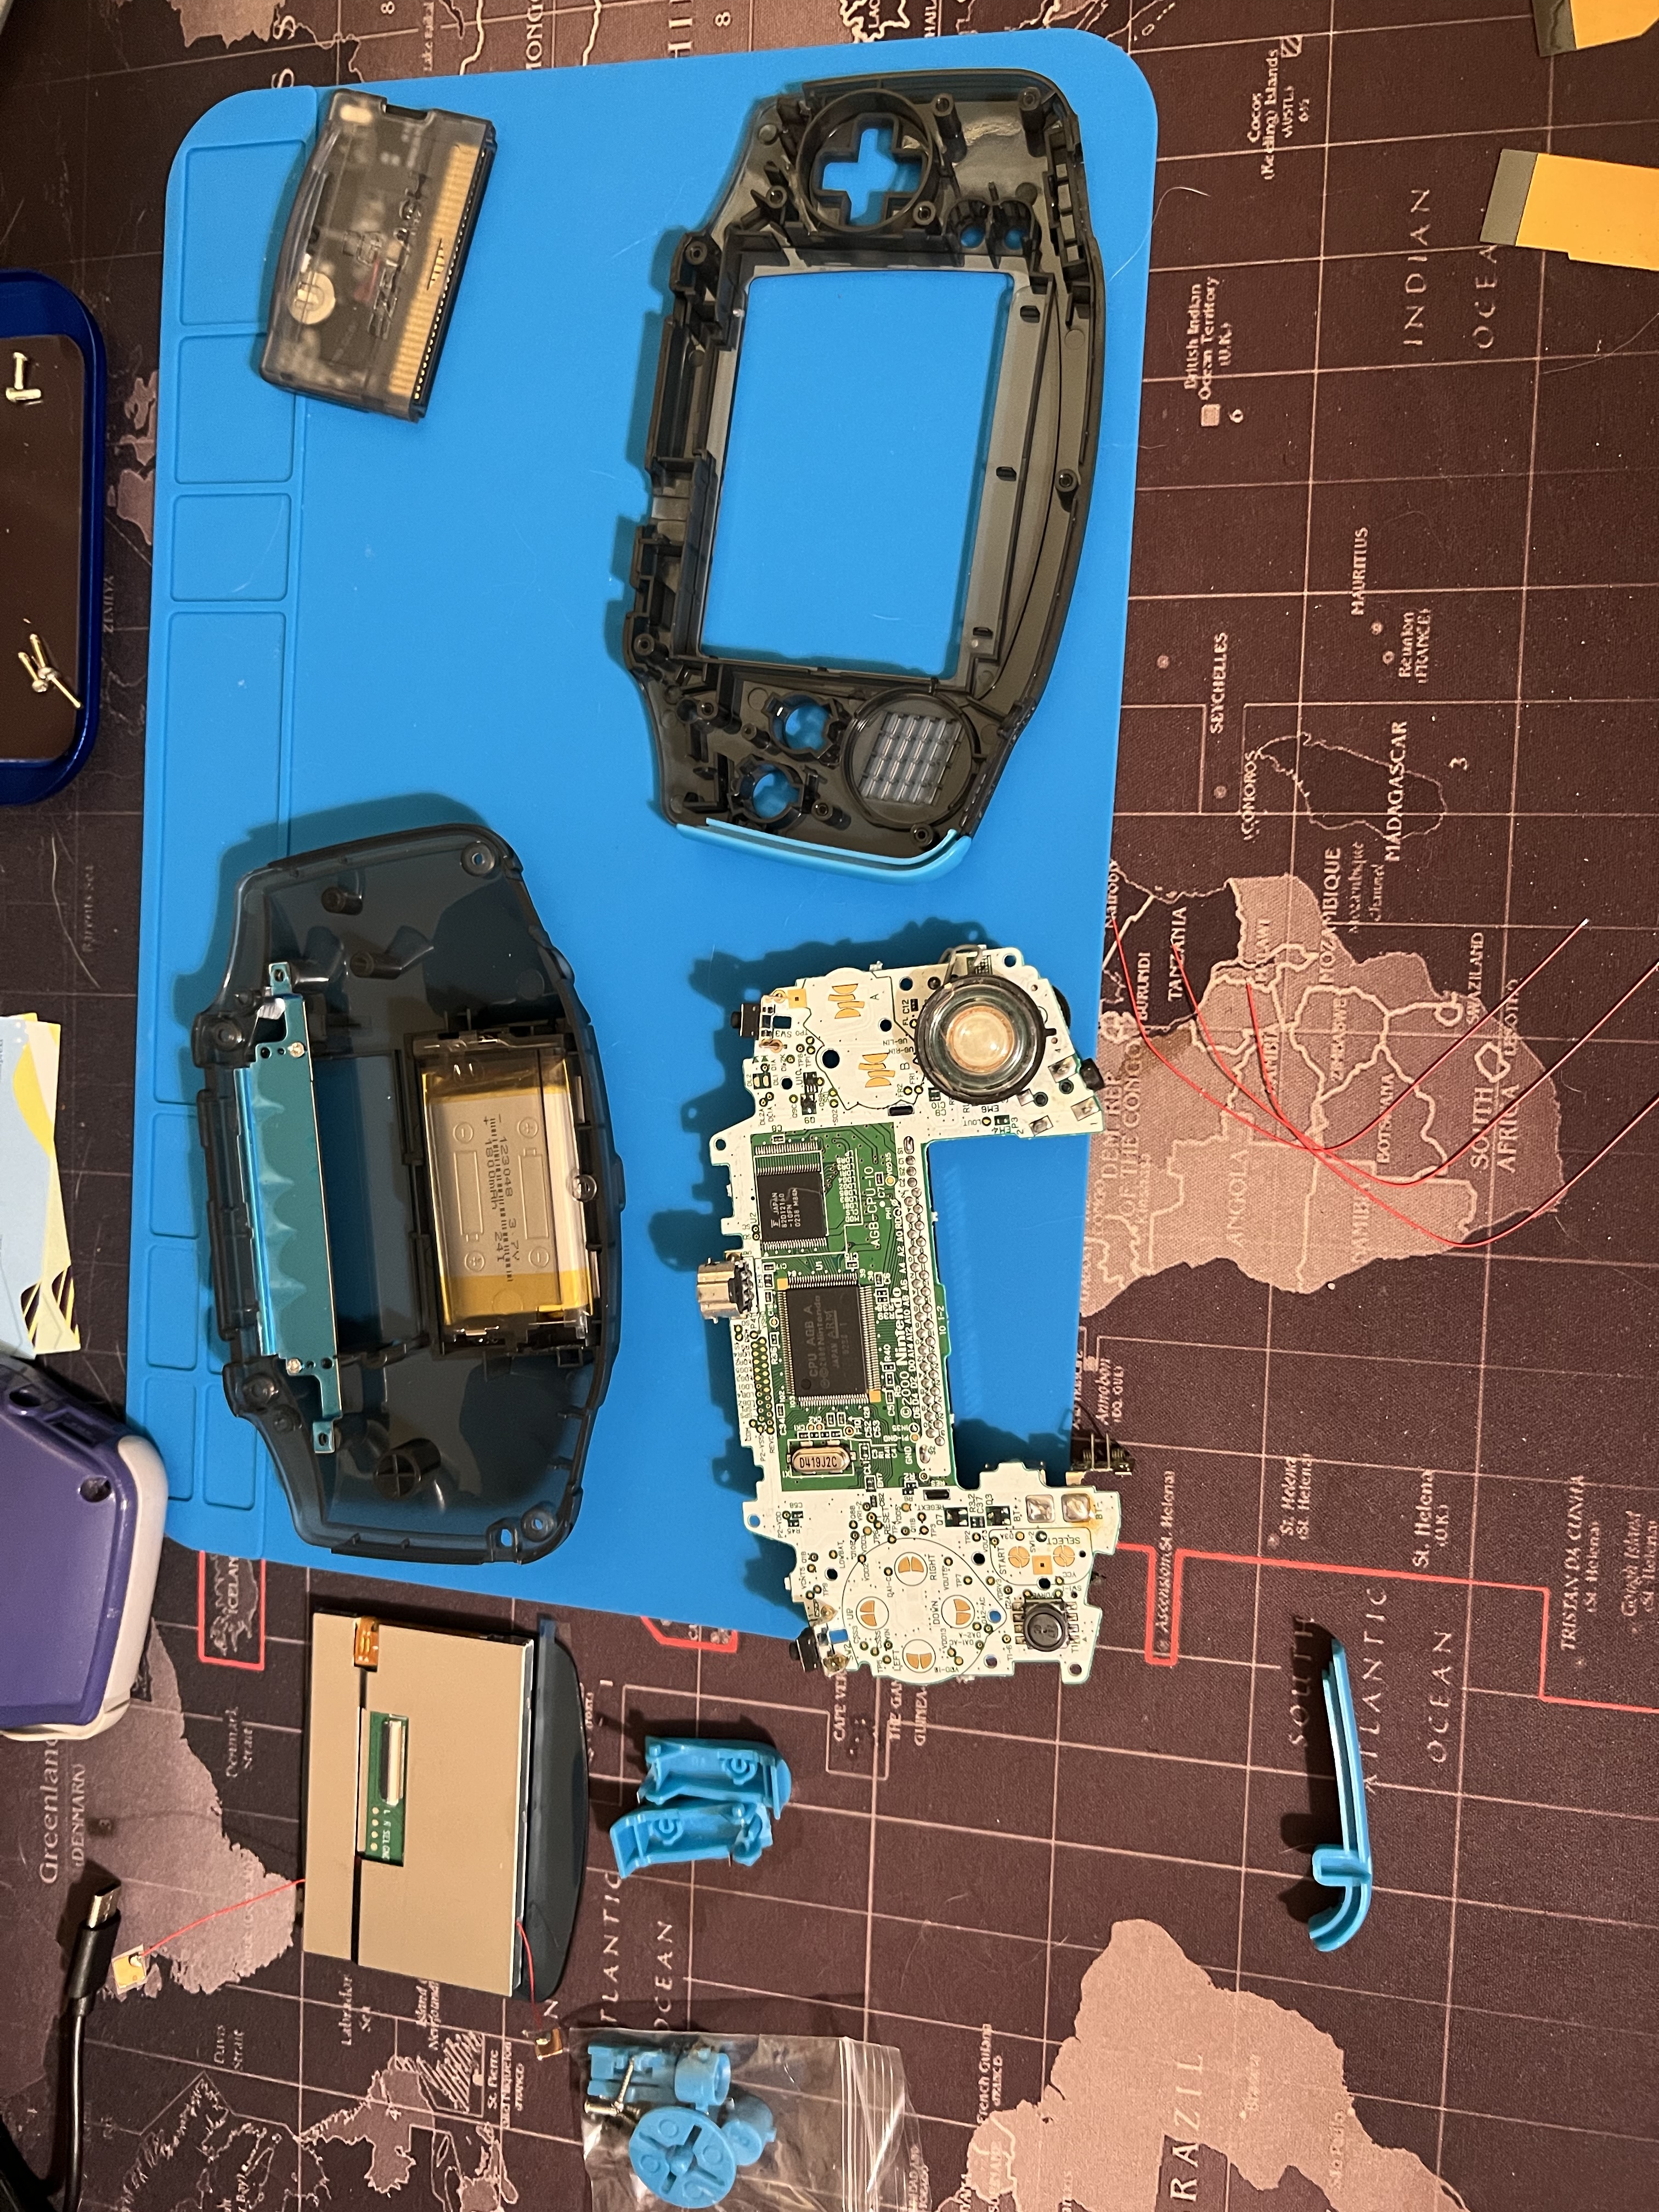
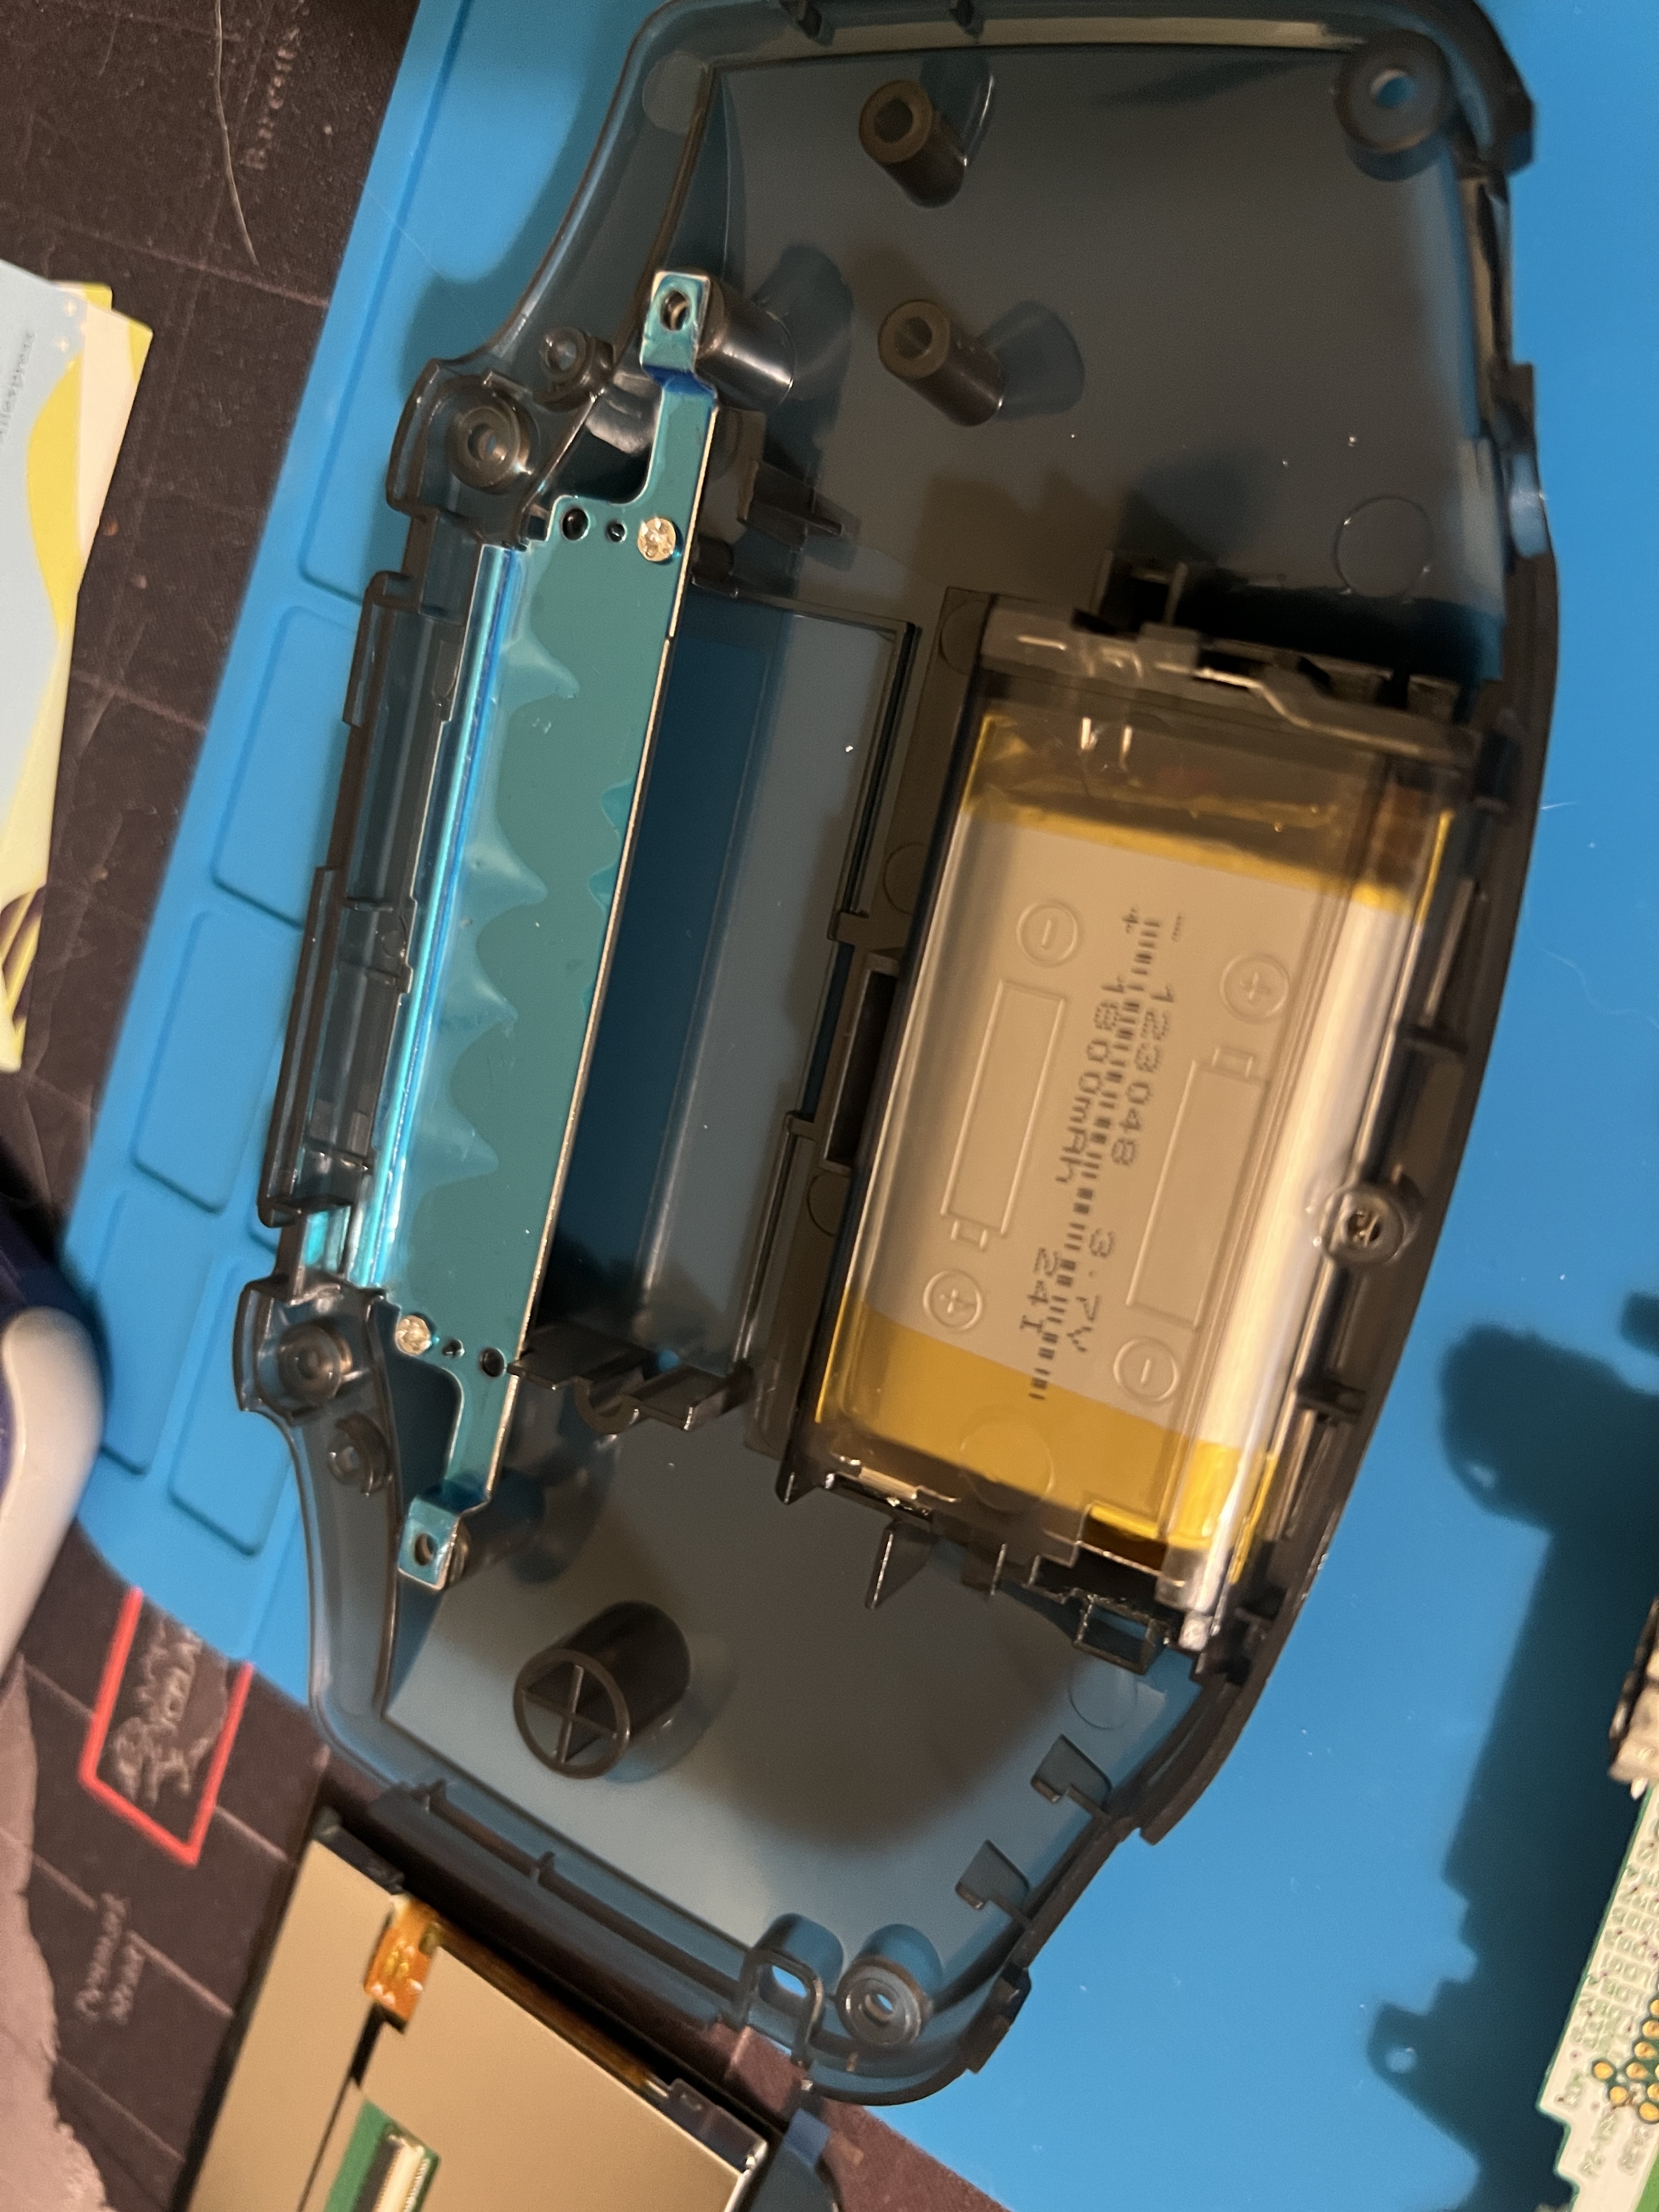
Ditching the AA Batteries: Lithium Power
One of the biggest quality-of-life improvements was switching from AA batteries to a rechargeable lithium battery. No more constantly changing batteries, and the shell even came with a precut USB port for easy charging. I was all set for modern power with classic gameplay.
Check out the new battery compartment.
Putting the Pieces Together: Testing in the New Shell
Once I had everything in place, I tested the motherboard inside the new shell. Things were coming together nicely, the screen and buttons felt great, and I was excited to see it all work.
The Screen Upgrade: IPS LCD for Crisp Graphics
Now for the biggest upgrade: the new IPS LCD screen. This screen makes a world of difference, with 9-to-1 pixel upscaling that makes the visuals sharp and bright. It’s a massive improvement over the original dim display, and the adjustable brightness means I can play anywhere, even in low light.
Here’s the screen installed and connected to the motherboard.
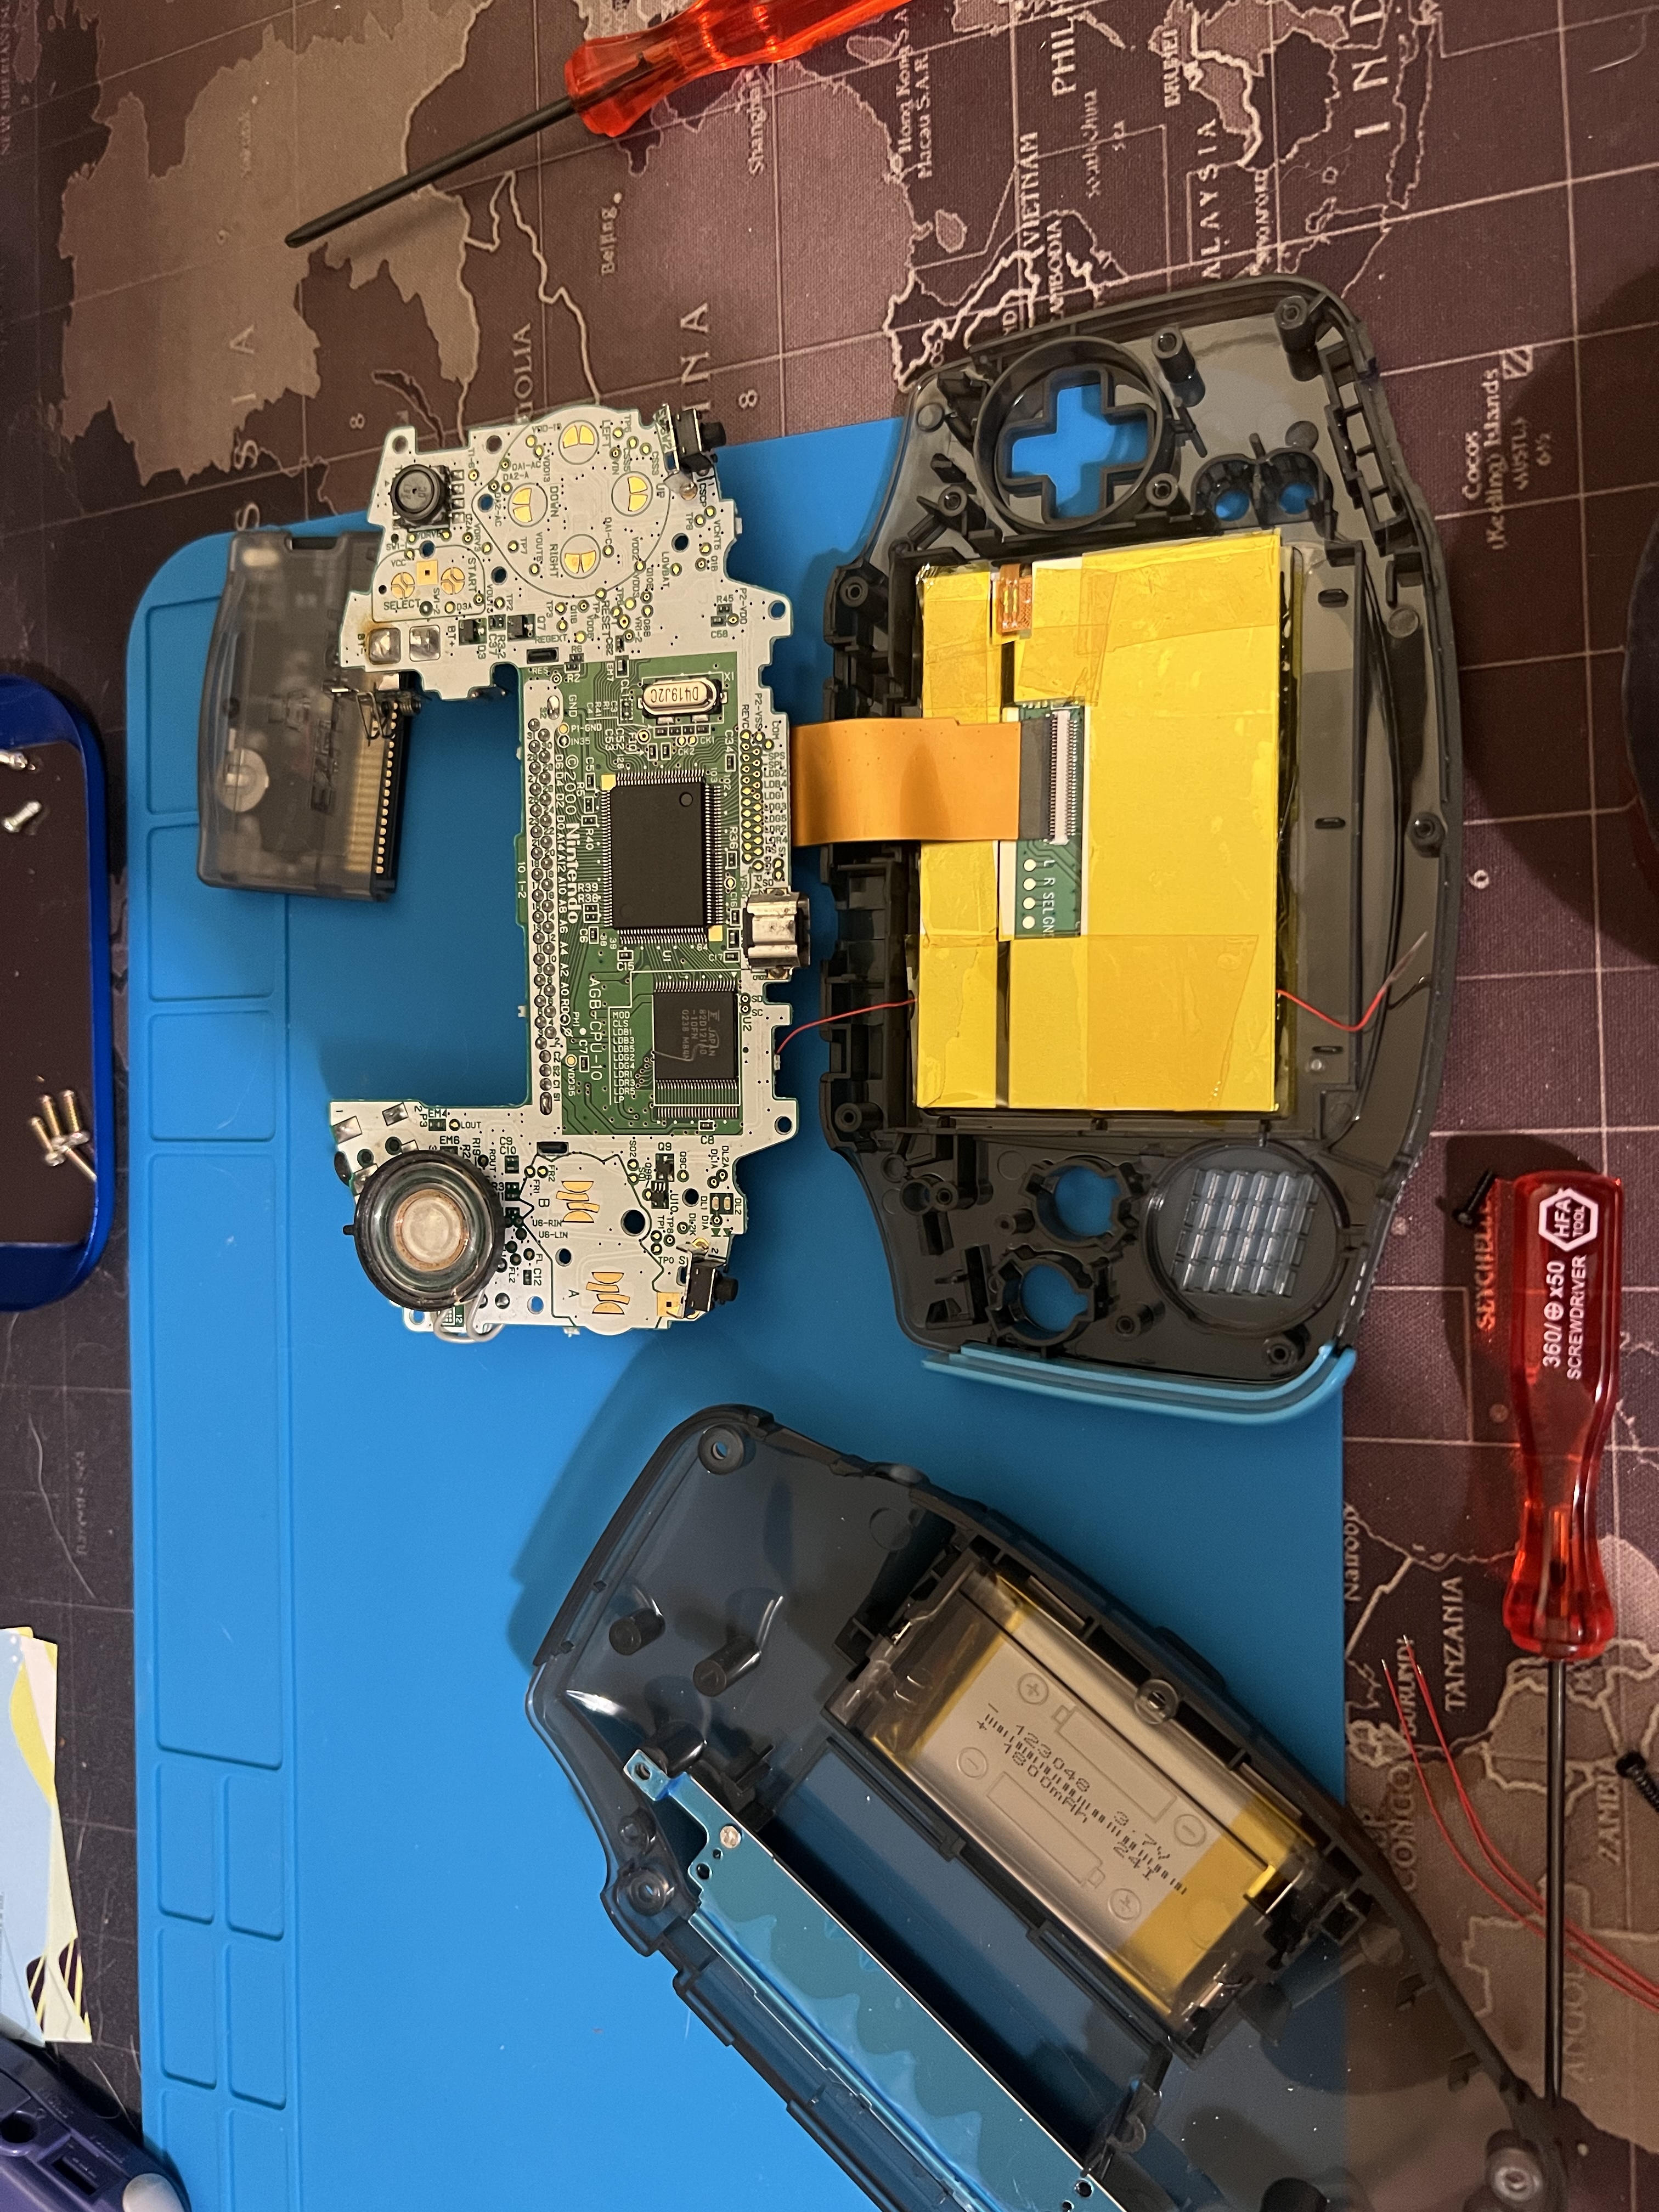
The EZFLASH OMEGA DE: All My Games in One Place
What’s an upgraded GBA without some serious gaming? To complete the project, I added an EZFLASH OMEGA DE. With this flash cart, I’ve got all my favorite ROMs in one place: Gameboy Advance, Gameboy Color, and Gameboy classics. No more carrying around cartridges, and I’ve got instant access to my entire retro library.
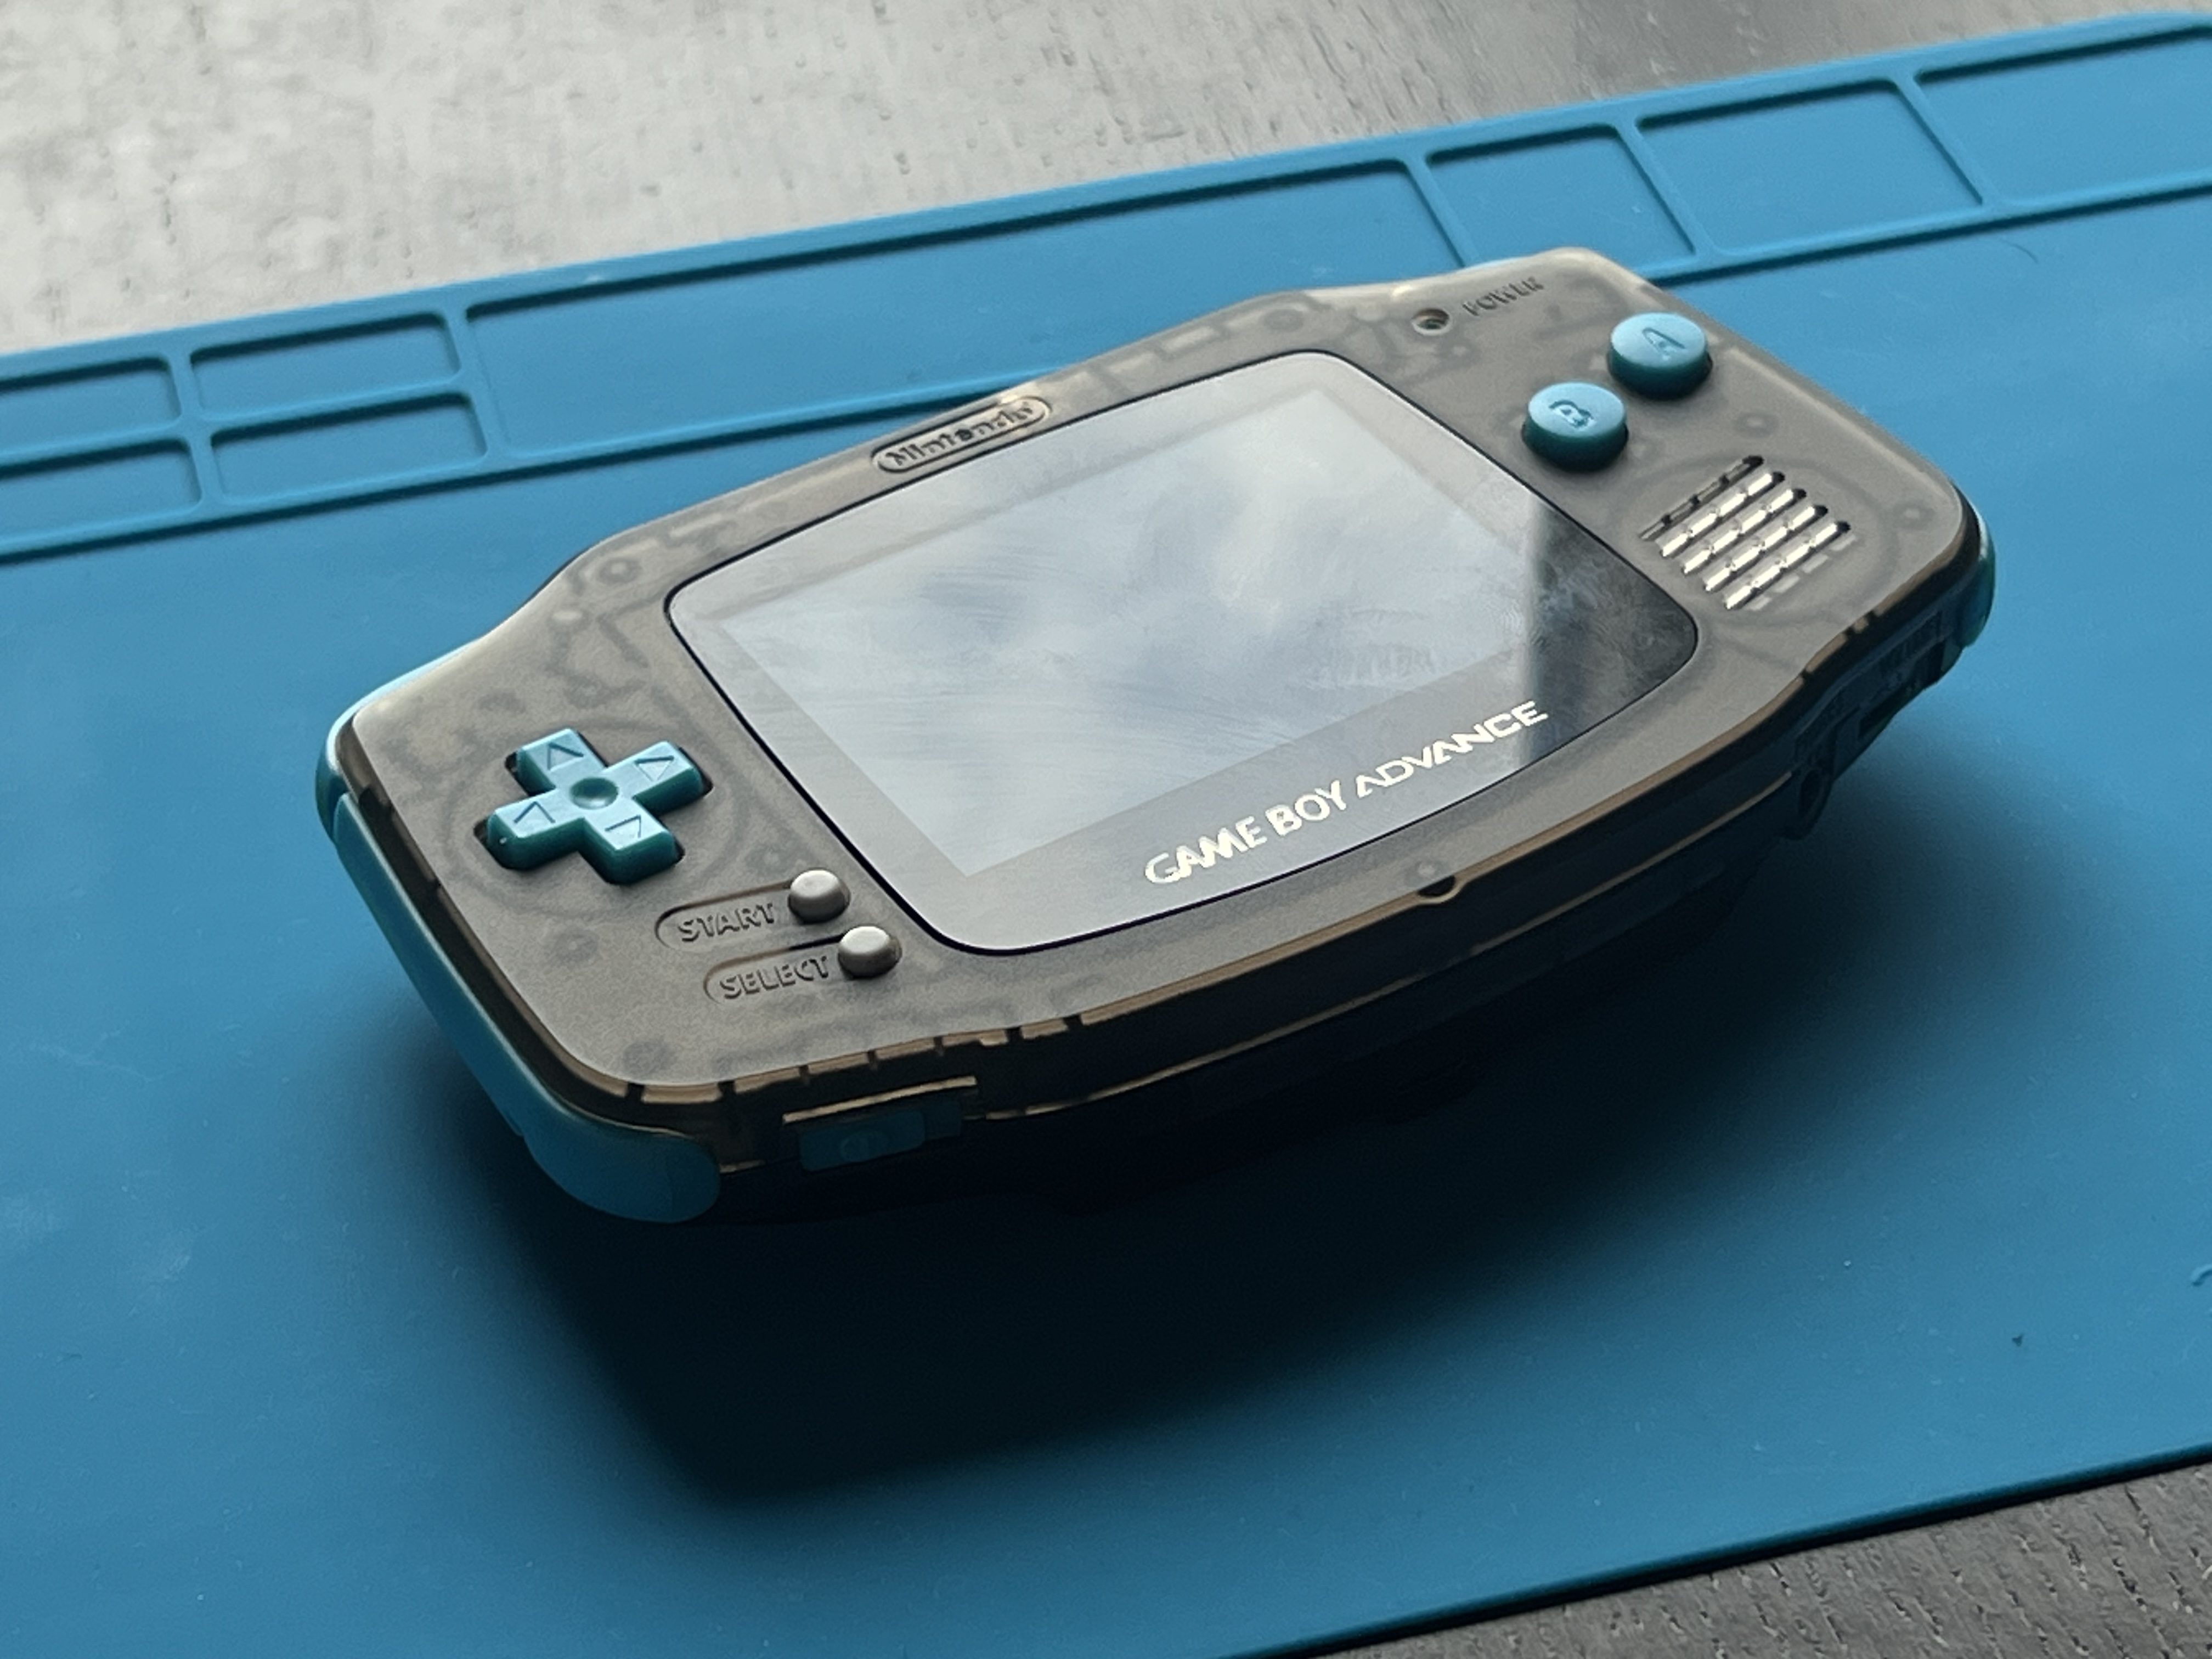
The Finished Product: A Retro Beast
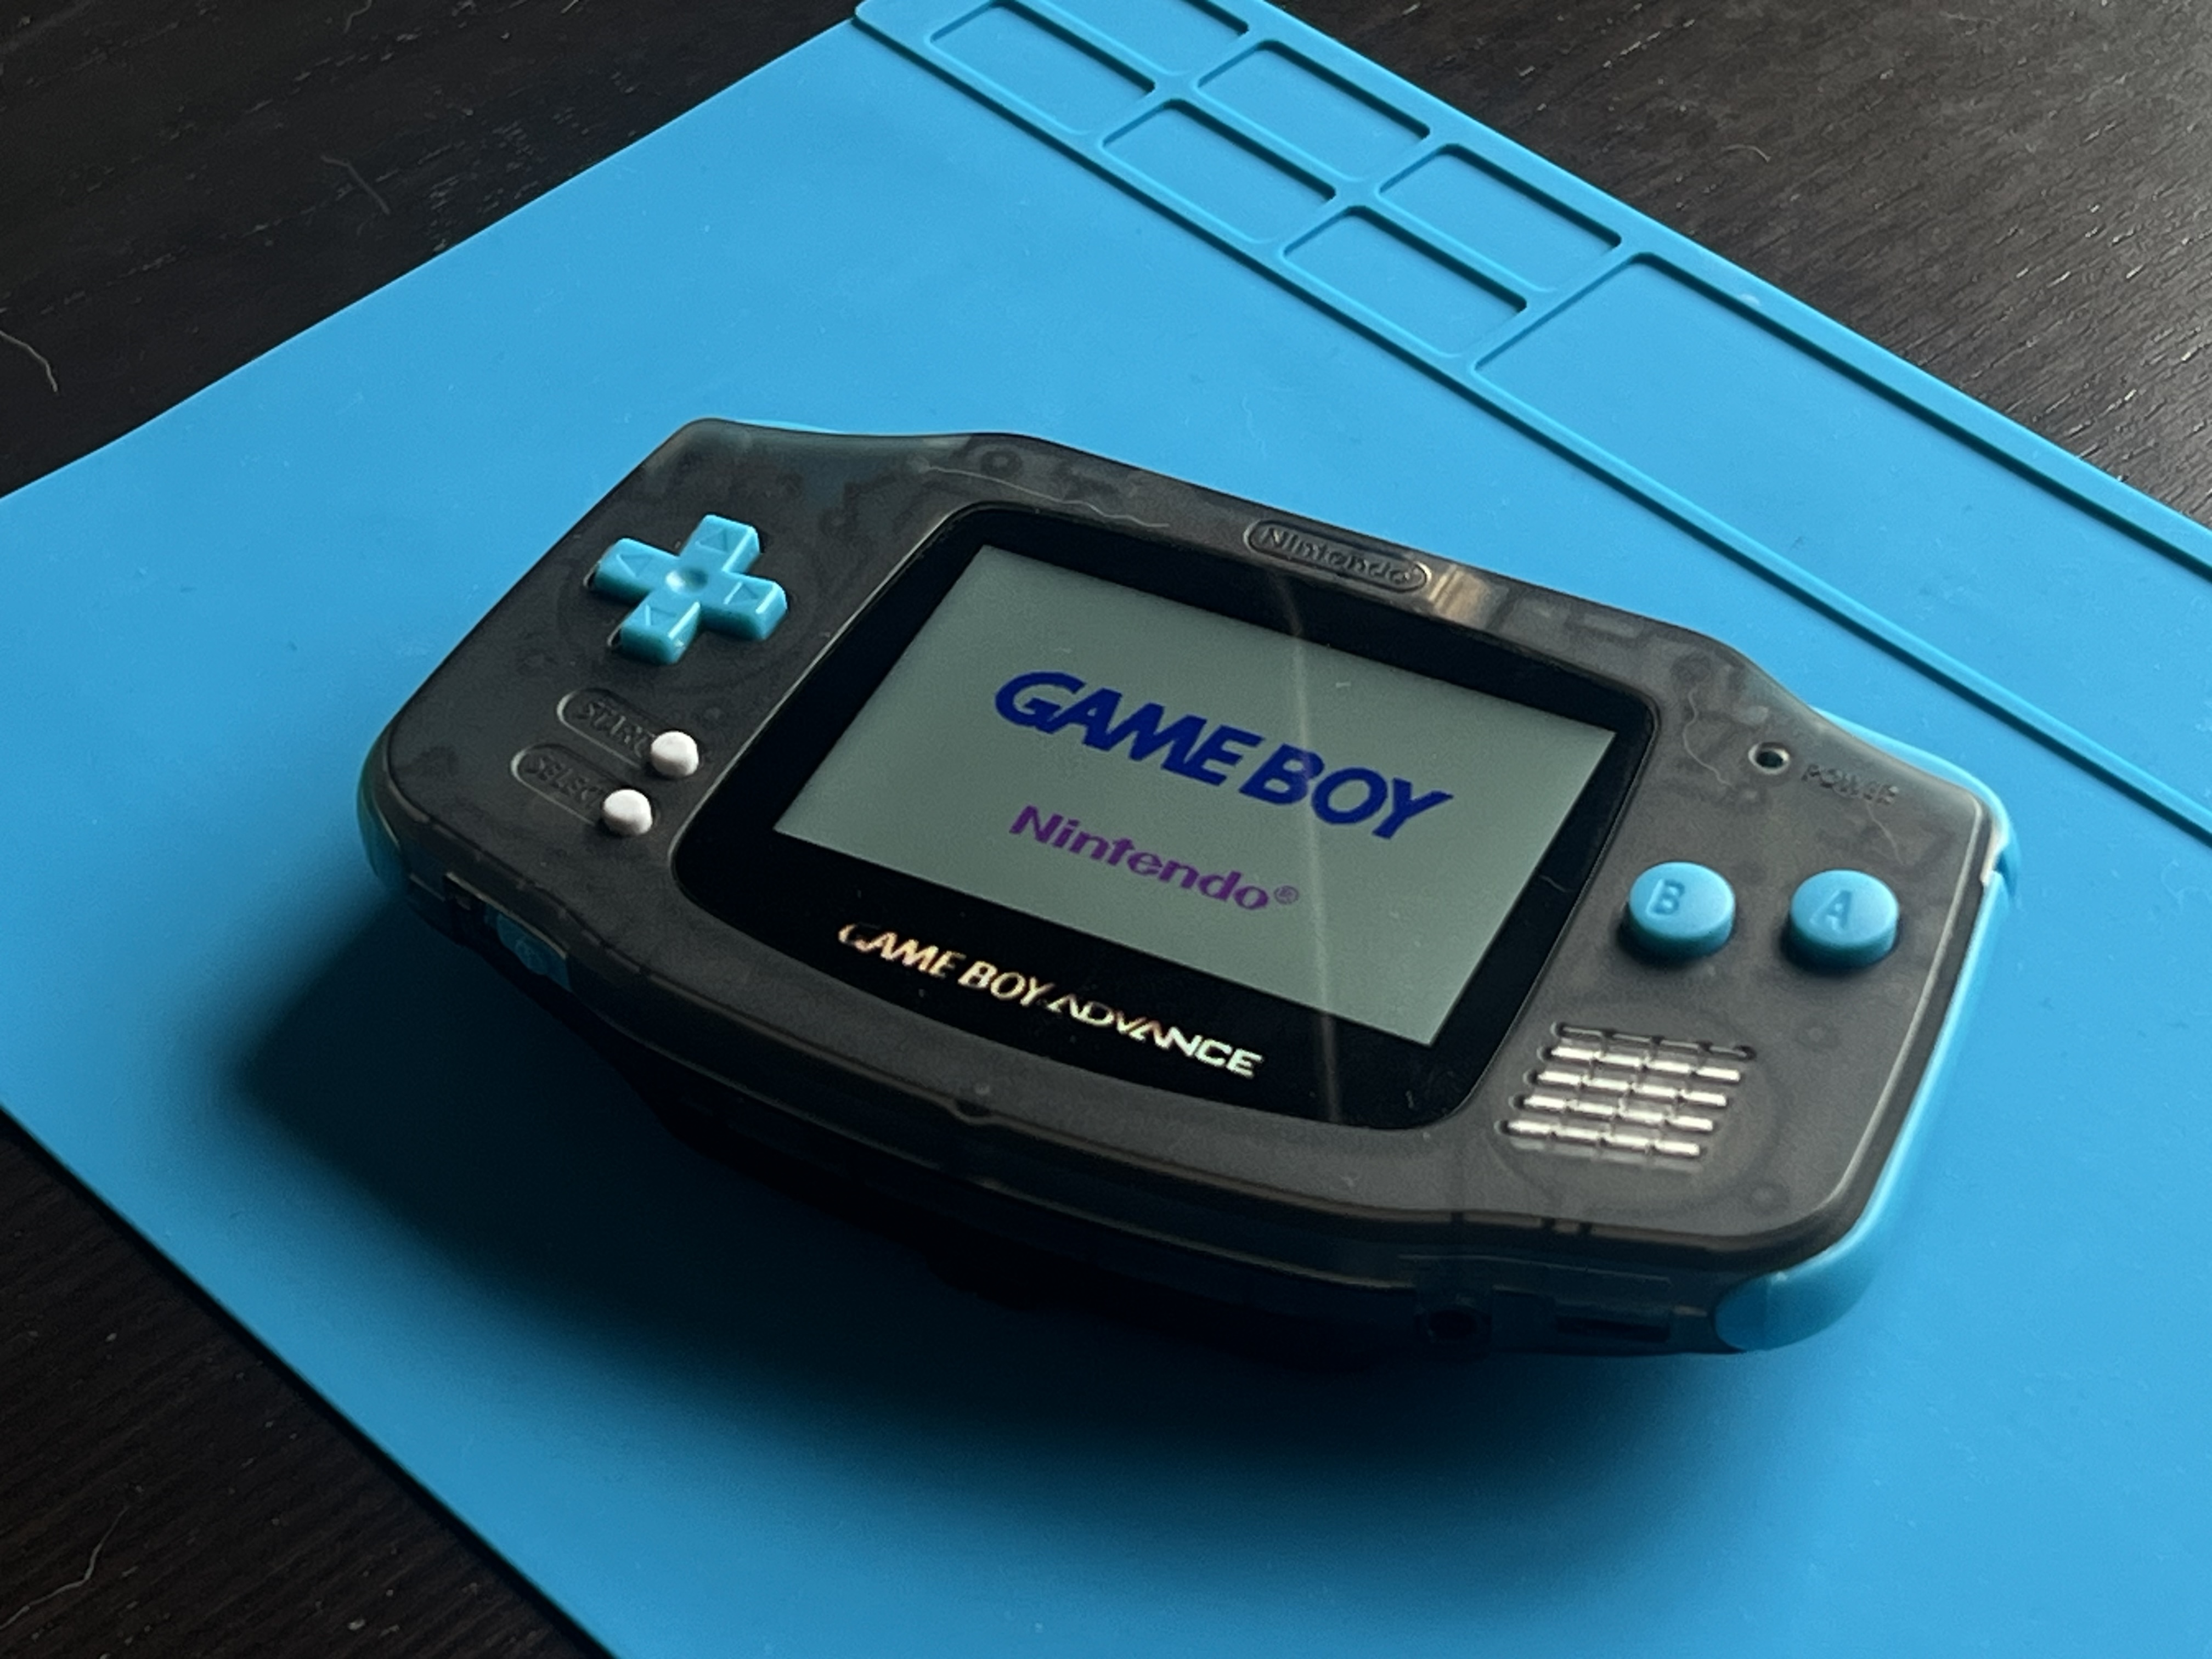
And here it is, the final result: a fully modernized Gameboy Advance that still holds onto its retro charm. The transparent grey shell with blue buttons looks stunning, the screen is a huge upgrade, and the lithium battery means I can game without worrying about power.
Finally, here’s the glory shot: GBA powered on, with that iconic GameBoy Advance intro screen lighting up the IPS display. It’s like stepping back in time, but with a much better view!
This whole project was a blast, and I couldn’t be happier with how it turned out. If you’ve got an old GBA lying around, upgrading it is definitely worth it. Now I can relive my favorite games like Metroid Fusion and Pokémon on a device that’s ready for the future.