Introduction
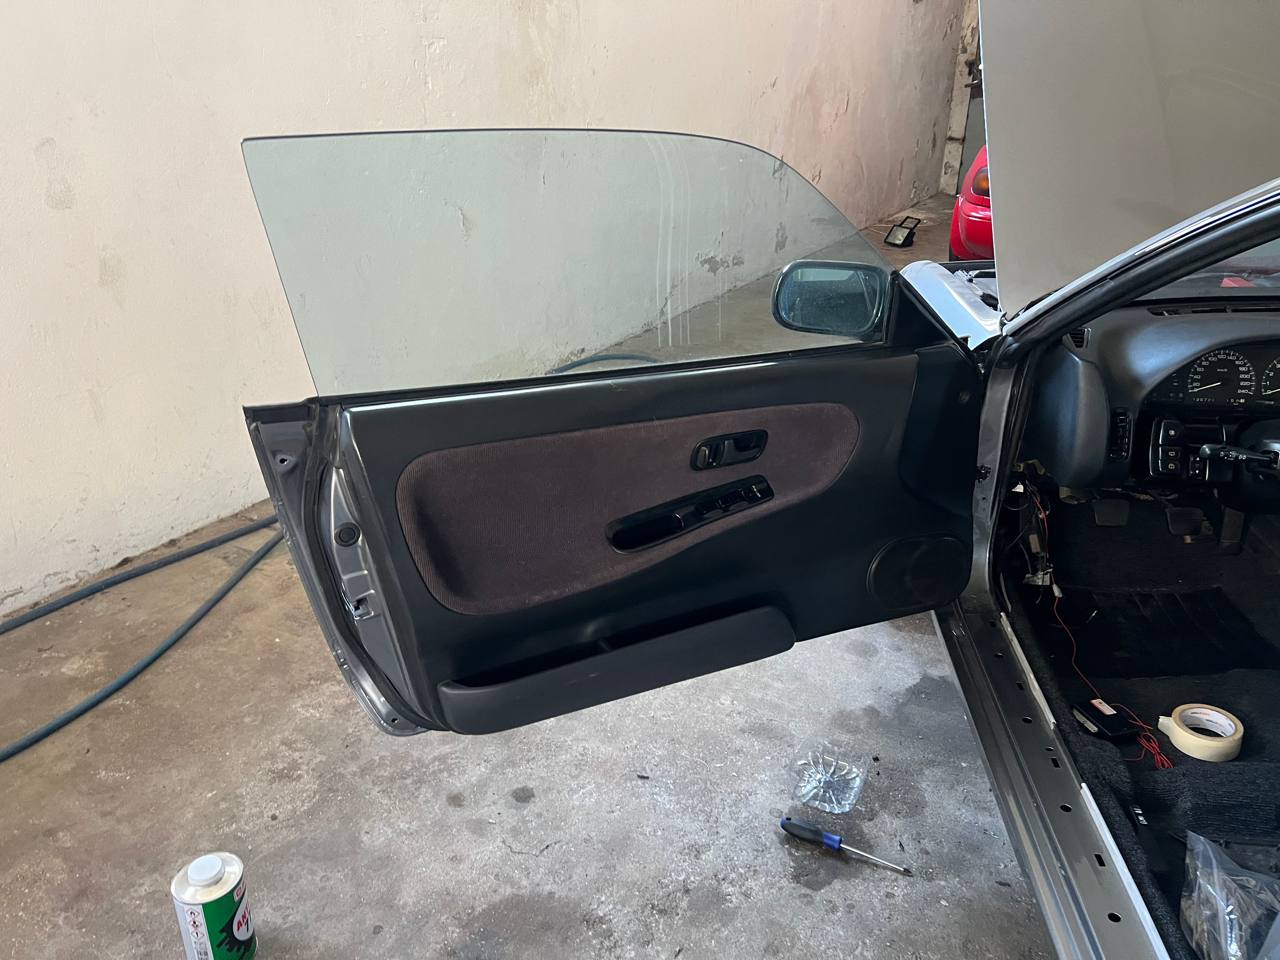
When I decided to upgrade the audio system in my shitbox 1989 Nissan 200SX, I wanted to install new JBL 6.5-inch speakers on the front doors to pair with my new Pioneer dual-din touch screen radio (SPH-DA160DAB). The stock speakers were old and small, so I embarked on a quest to find a suitable solution.
After extensive research and exploring different approaches, I wanted to create a 3D printed piece to imitate the original plastic trim that holds the speaker, however I eventually arrived at the simple DIY solution using MDF (Medium-Density Fiberboard) and some basic tools with a touch of paint, because only I will see the inside of the door and it has to look pretty for me, right?
In this article, I will share my progress, the solutions I discovered online, and my approach to developing this adapter.
Research
My journey began with thorough research into the speaker installation process for the Nissan 200SX.
I wanted to find and easy solution, something I could print right off and it would be plug and play, obviously this was not the case, there was nothing available online similar to what I wanted. I did came across several off-the-shelf adapters that didn’t tilt the speaker to the seat, but they either came from the other side of the world, which would cost a lot on shipping, or they were already stupidly expensive. It became clear that I would have to build something.
3D-Printed Adapter
My initial plan was to design and 3D print an adapter that would precisely fit the dimensions of the new speakers and seamlessly replace the old plastic trim in the door panel.
Something off Thingiverse?
First I found this 6.5 Inch adapter on Thingiverse, and I went to print it on my Ender 3:
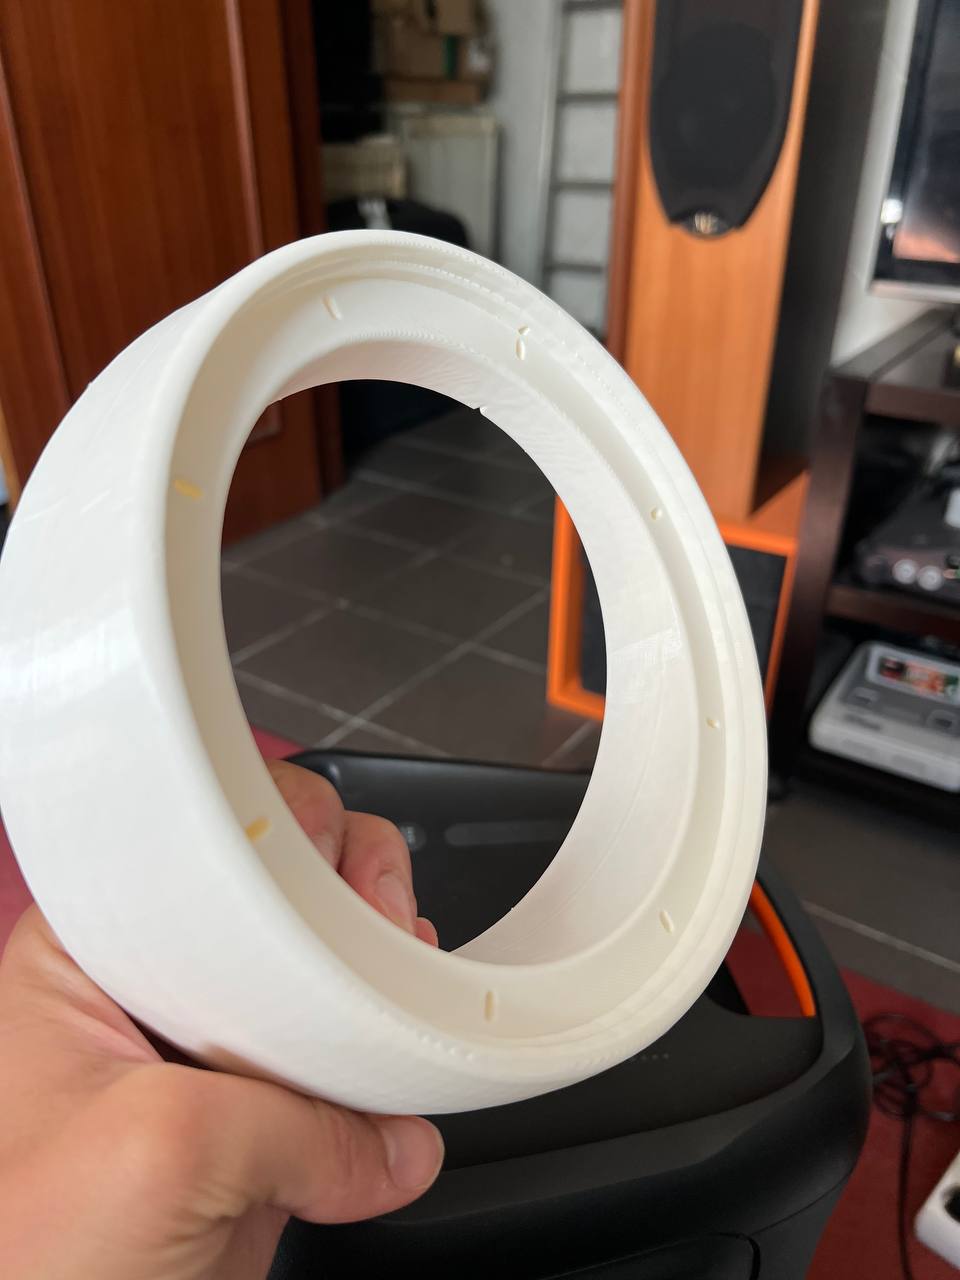

It’s round, it looks nice, so I thought, maybe I can just mix this with an MDF base, but I would soon find out it would not fit, as the speaker would hit the door card.
Back to the drawing board
This time, I needed help, someone with a mechanical background who could actually help me design from 0. So I reached out to my cousin, Pedro Castro, who actually knows what he is doing.
We took all measurements of the original piece, the door hole and the speakers and got to work.
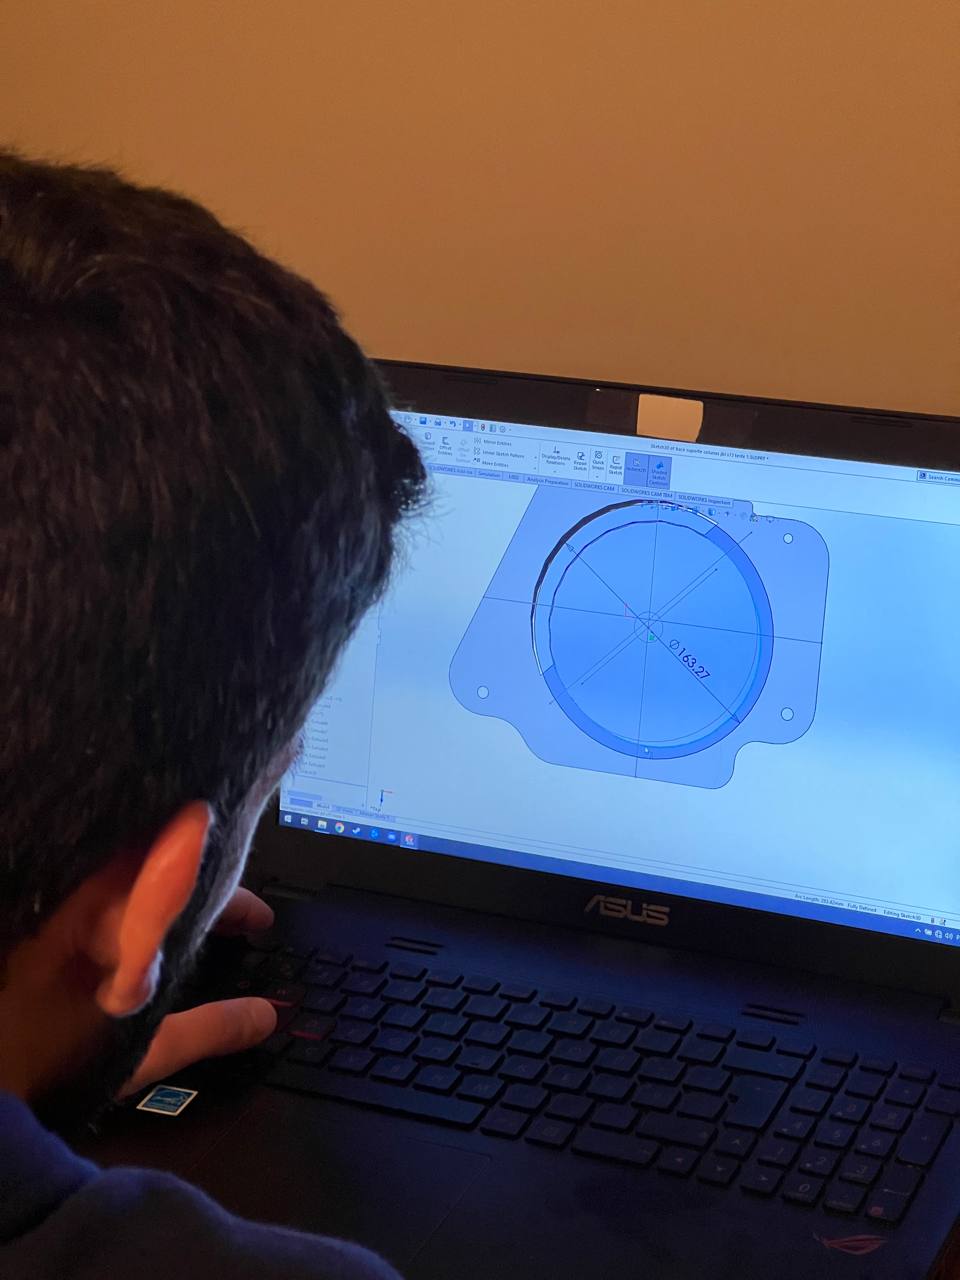
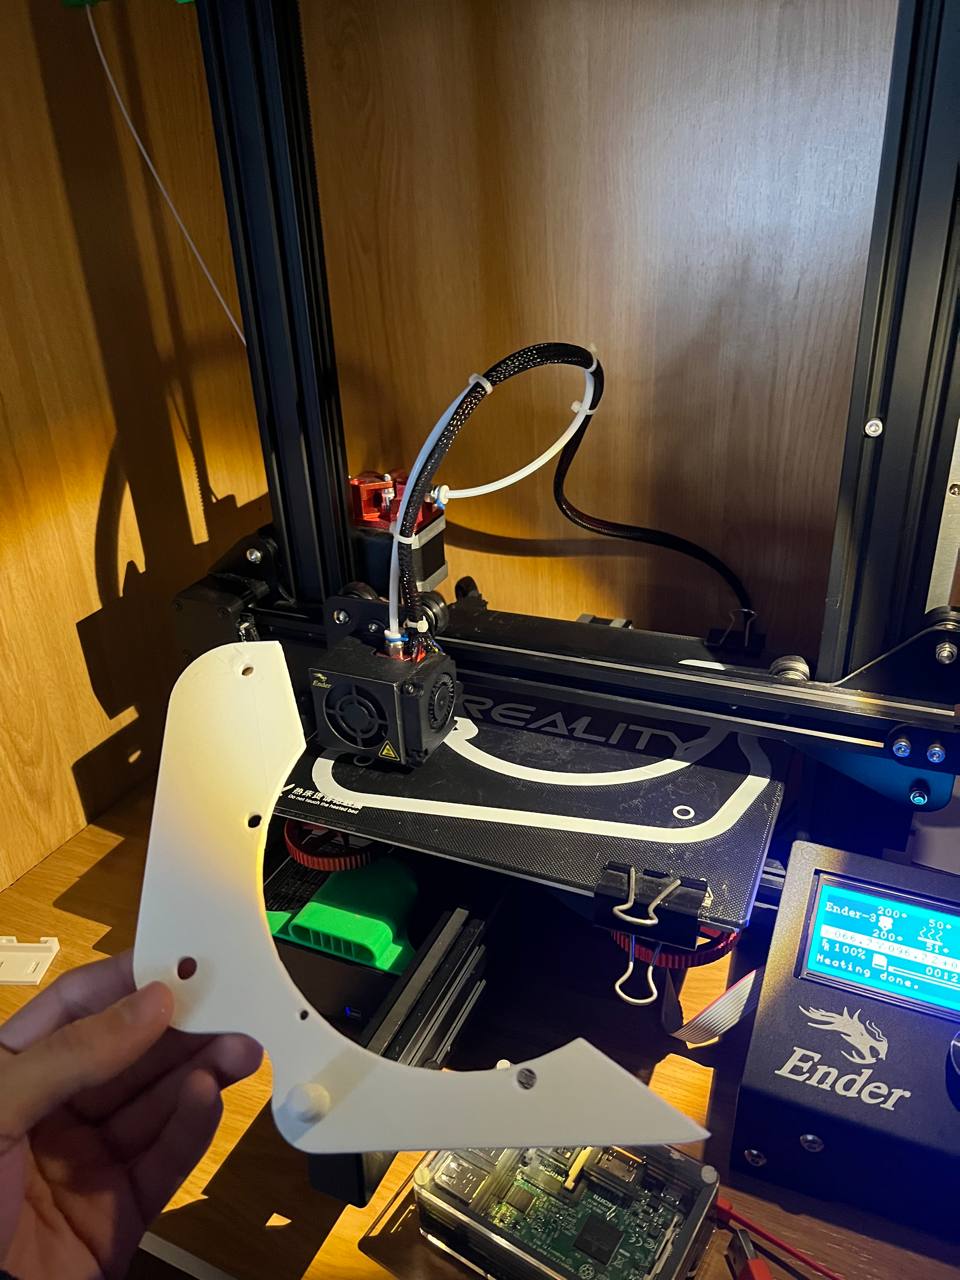
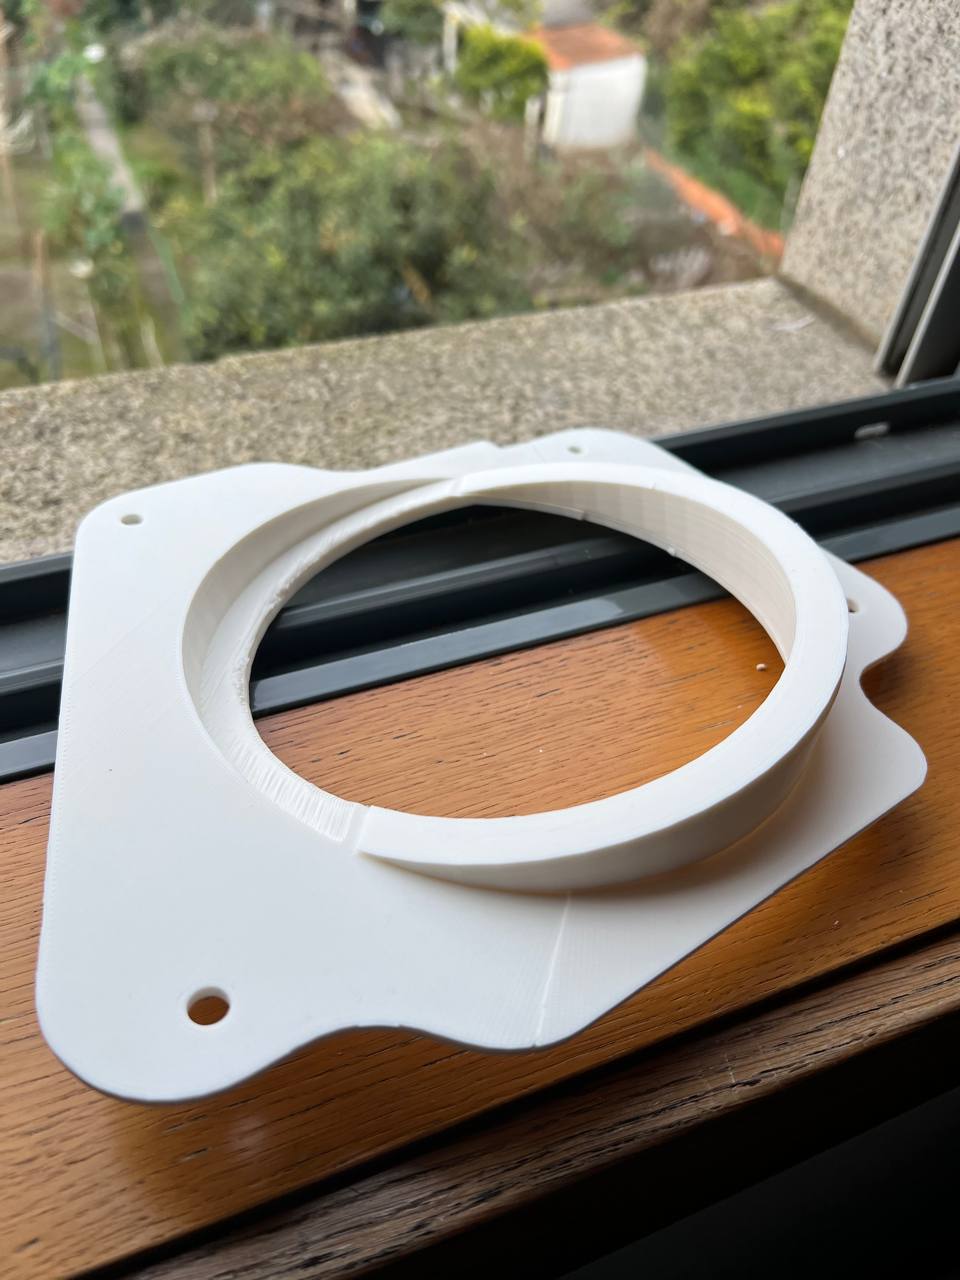
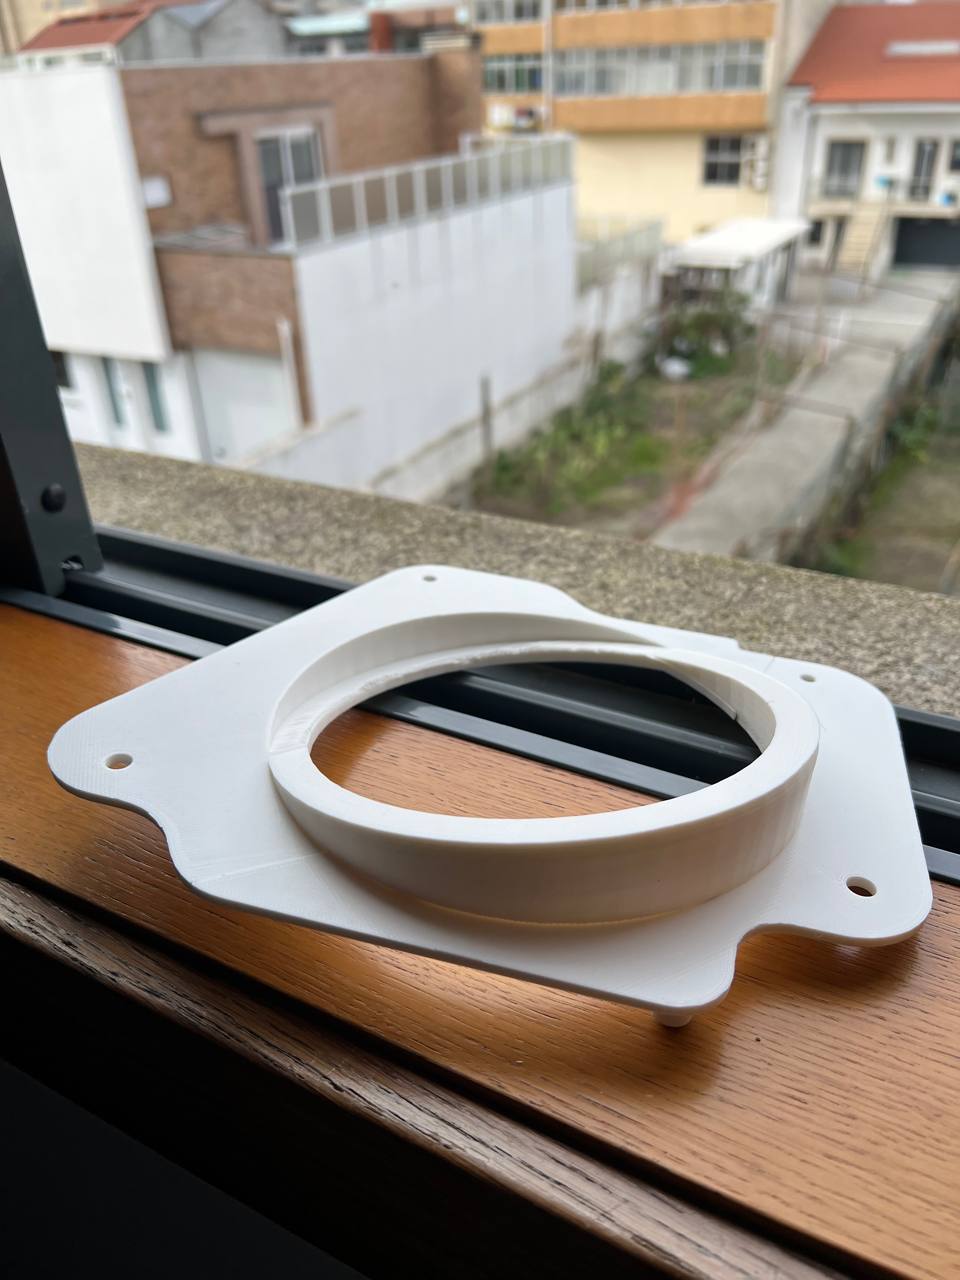
The printer has a print area of 220 x 220 x 250 mm as such we could not fit the final object in the printer, and we decided to divide the piece in 3 pieces, this would also help with printing as we were able to cut the pieces leaving always a flat surface.
Adding guides in the parts where they would stick together, and the best part is, it actually worked and looked sturdy.

However, we quickly encountered a series of challenges. Achieving accurate dimensions for a complex object like this proved to be more difficult than anticipated.
The intricate curves, angles, and mounting points required precise measurements, which we struggled to convert into digital dimensions, maybe we were doing these measurements wrong?
A Shift in Approach
I realized that the 3D-printing route might take longer than initially thought. It was becoming apparent that I needed a simpler, more accessible approach to install the JBL speakers, as this was already slowing the rest of the interior restoration.
DIY Solution with MDF
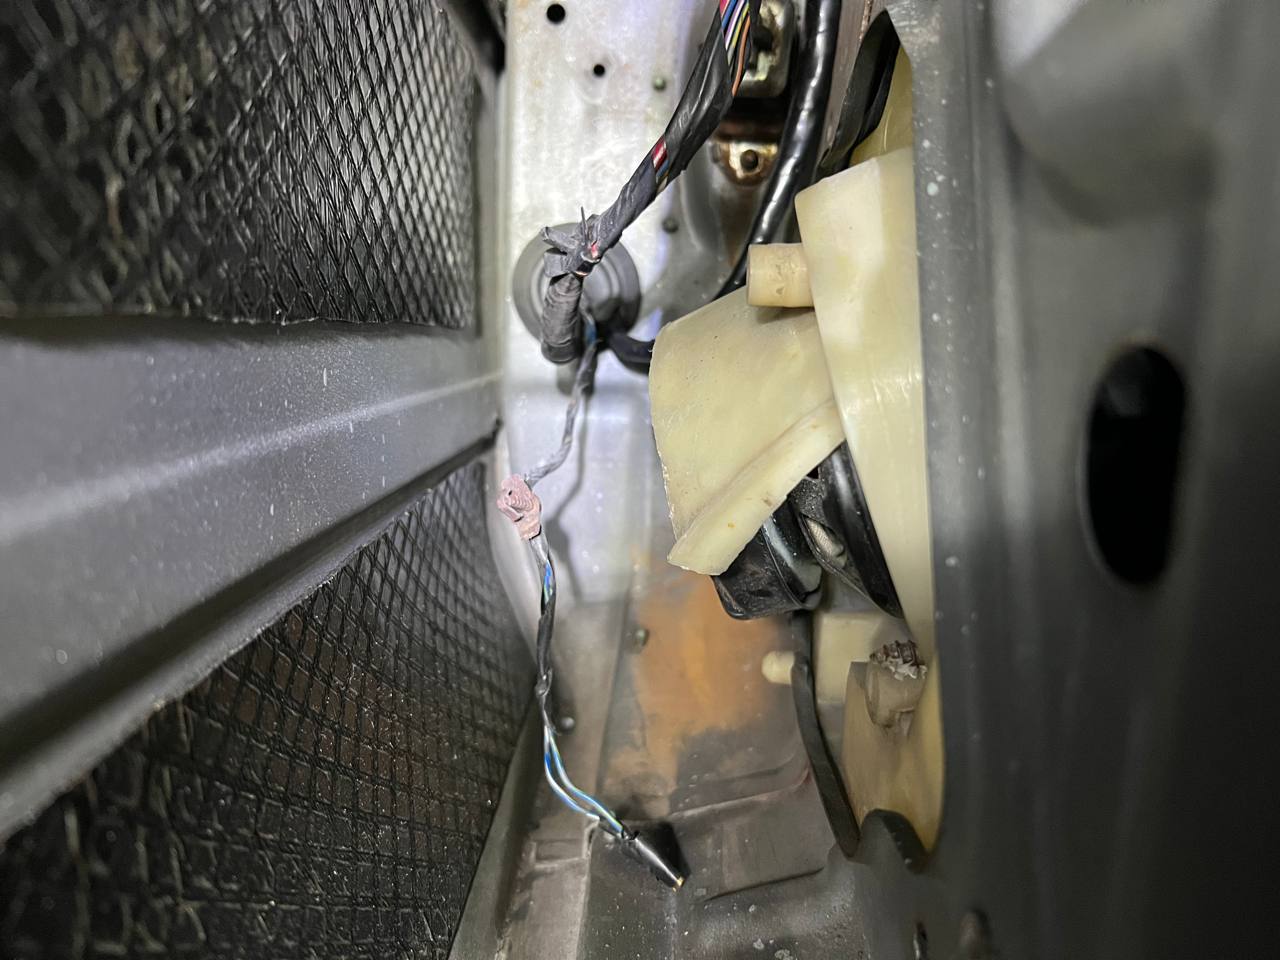
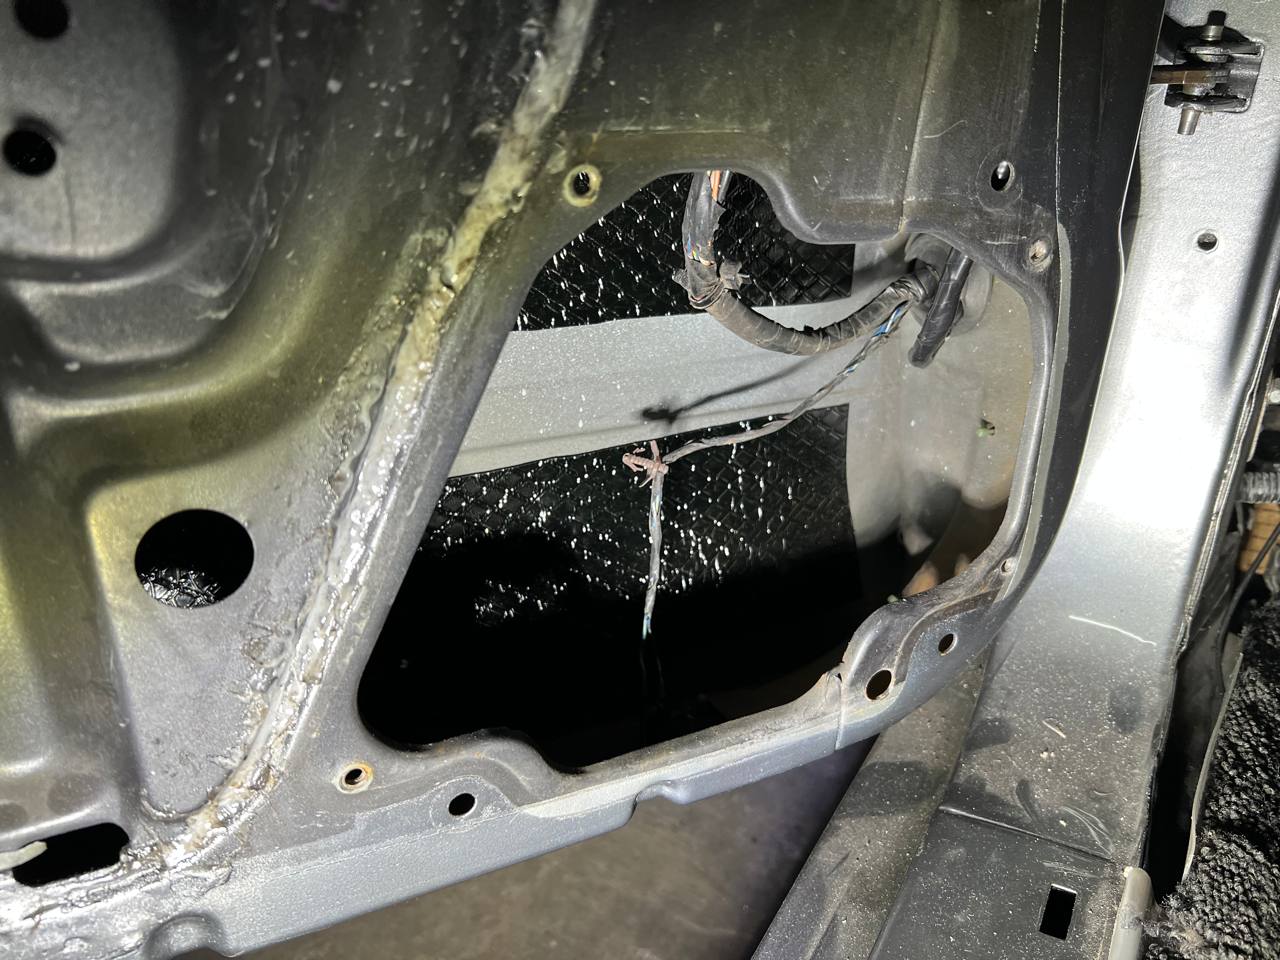
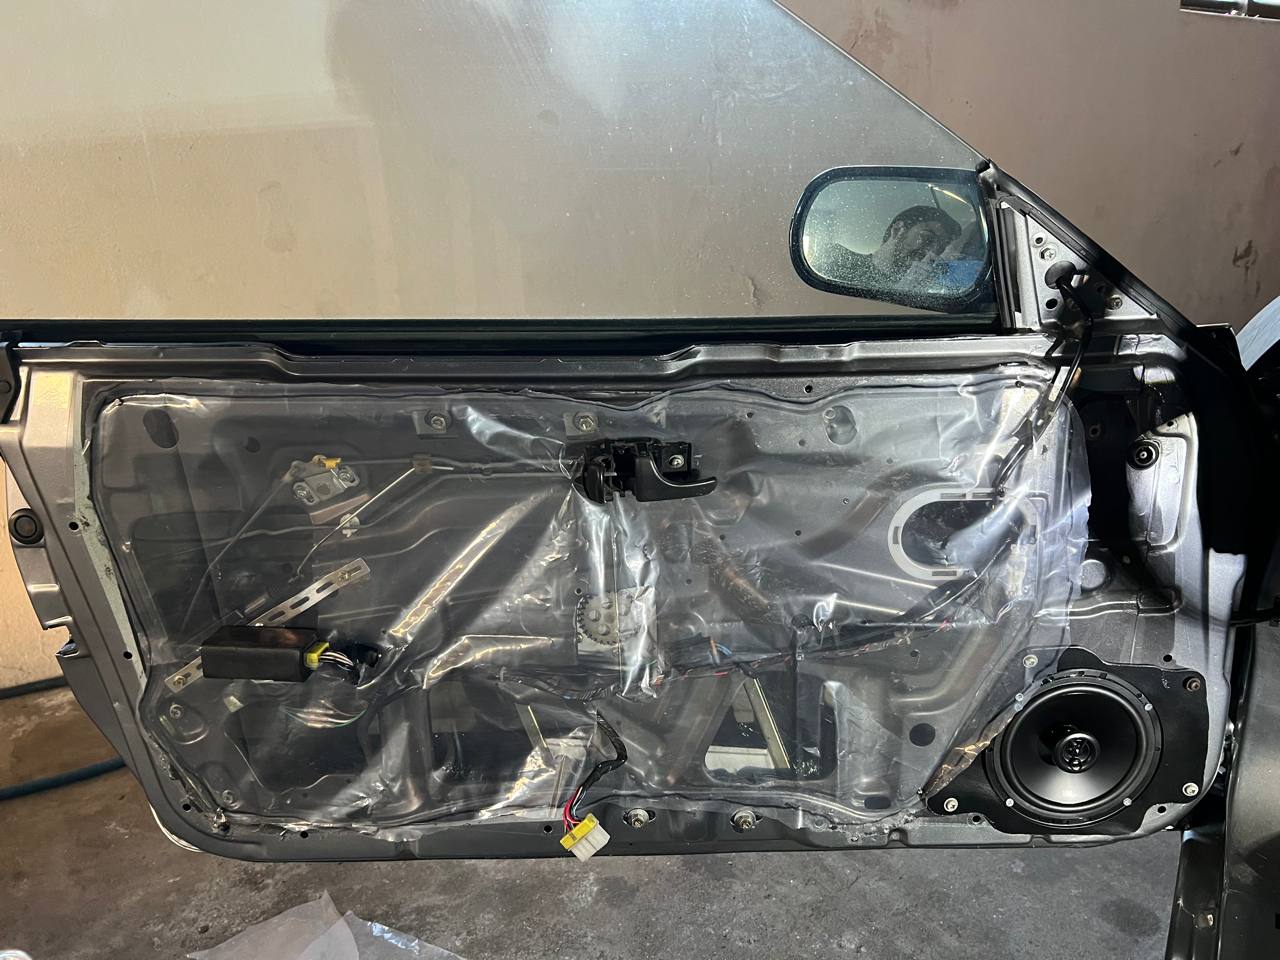
Inspired by what everyone was doing online, I decided to opt for the easy DIY solution using MDF. With some basic tools, anyone can do this at home. In the following pictures, you can also see the new water protection I did.
Conclusion
I have to say this was a fun project and while 3D printing can be a powerful tool, it is crucial to assess its suitability for a specific project and be willing to adapt when faced with unforeseen challenges.
Ultimately, my DIY solution using MDF proved to be a successful approach, enabling me to install the upgraded speakers in my Nissan 200SX.
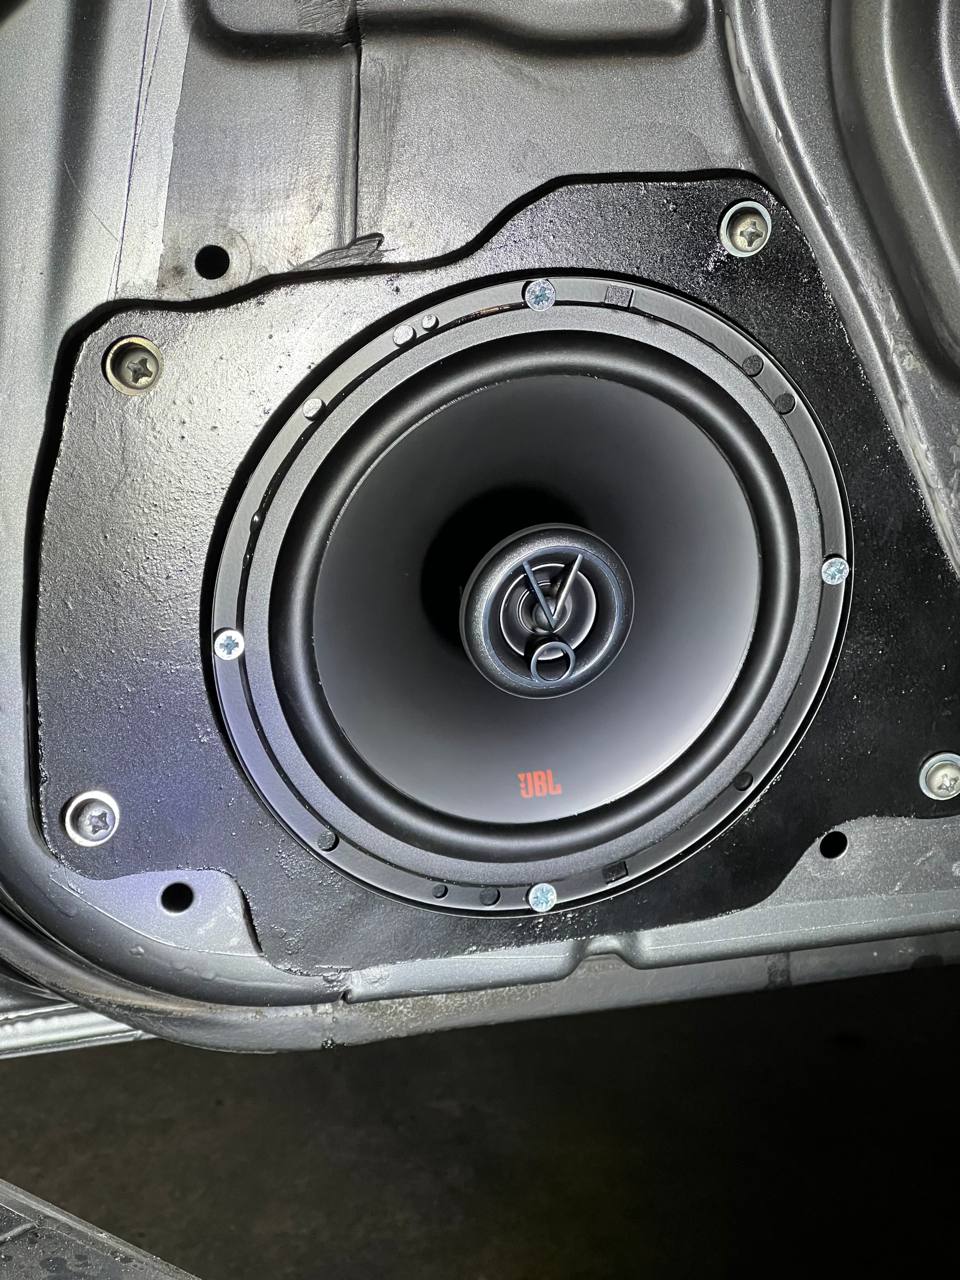
And here it is with the door card installed. You can’t even tell this was modified, and that’s the main objective of my interior modifications on this car.